To import Easy Digital Downloads (EDD) Customers using WP Ultimate CSV Importer, prepare an import file containing customer profiles, email addresses, billing details, purchase history, and related metadata. Upload the file, map the file fields to the corresponding EDD Customer fields, and run the import.
How to Import EDD Customers #
Step 1: Prepare the CSV/XML File (Or other supported format file)
Include the following fields:
- Customer ID (required for updates)
- Customer Email
- Customer Name
- First Name
- Last Name
- Customer Status
- Billing Address details (Phone number, Address line1, Address line2, city, region, postal code, country)
- Purchase Count
- Lifetime Value
- Order Ids
- Notes
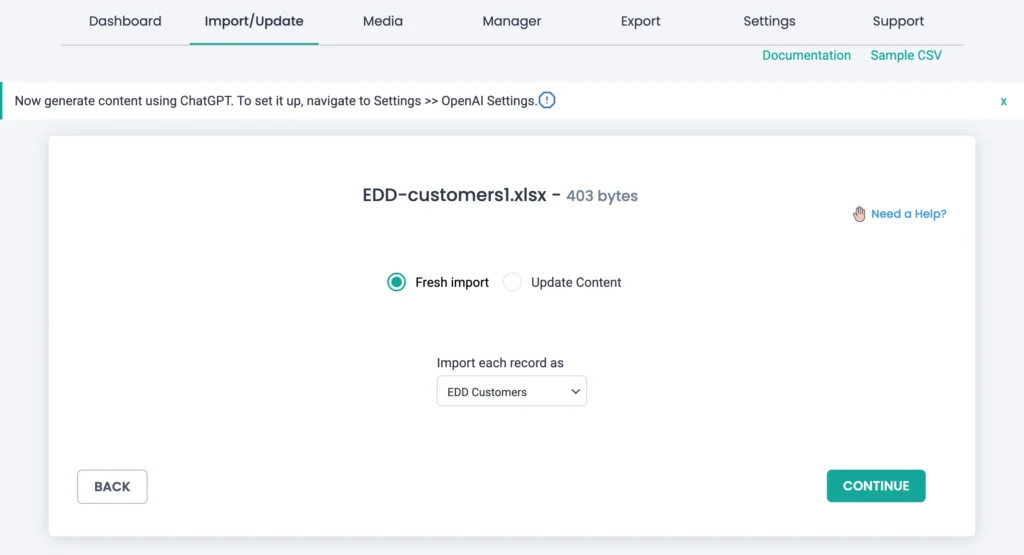
Step 2: Create a New Import for EDD Customers
Open Import/Update. Upload your customer import file. Choose EDD Customers as the post type. Click Continue.
Step 3: Map Customer Fields
Map customer email, name, and other fields listed inside the EDD Customers Fields widget. Map lifetime value and purchase count if migrating historical data. Add custom meta fields if needed.
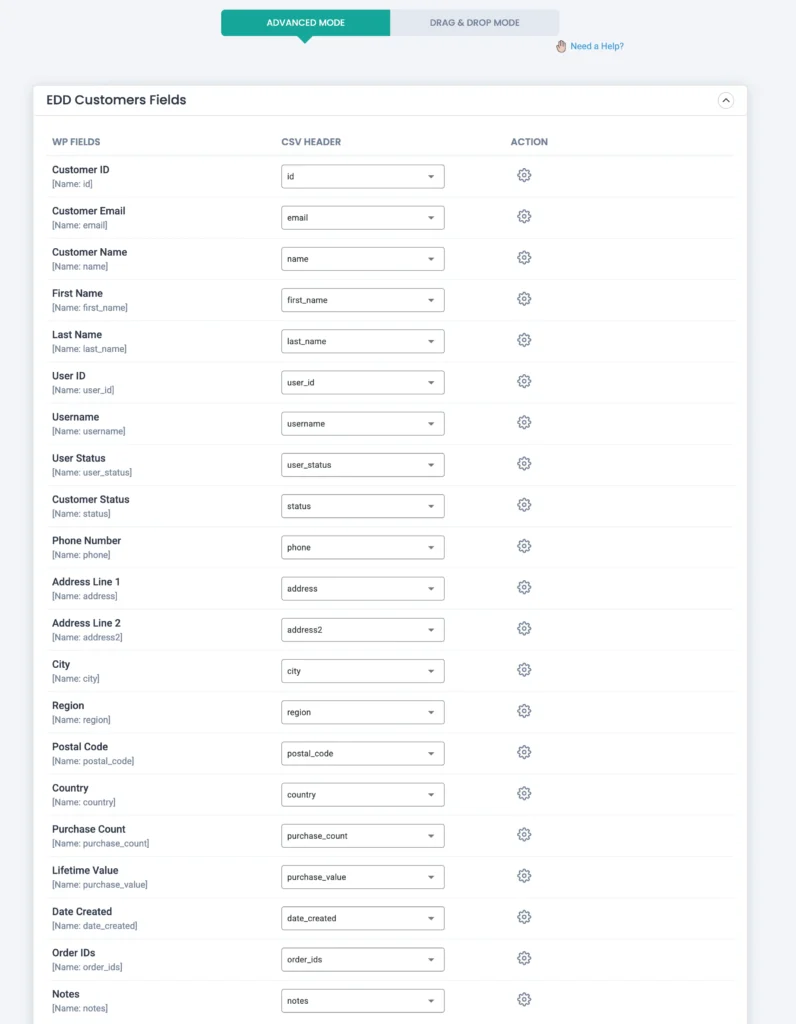
Once done, save the mapping with any name by adding it to the ‘Save this mapping as’ textbox. Move to the next step.
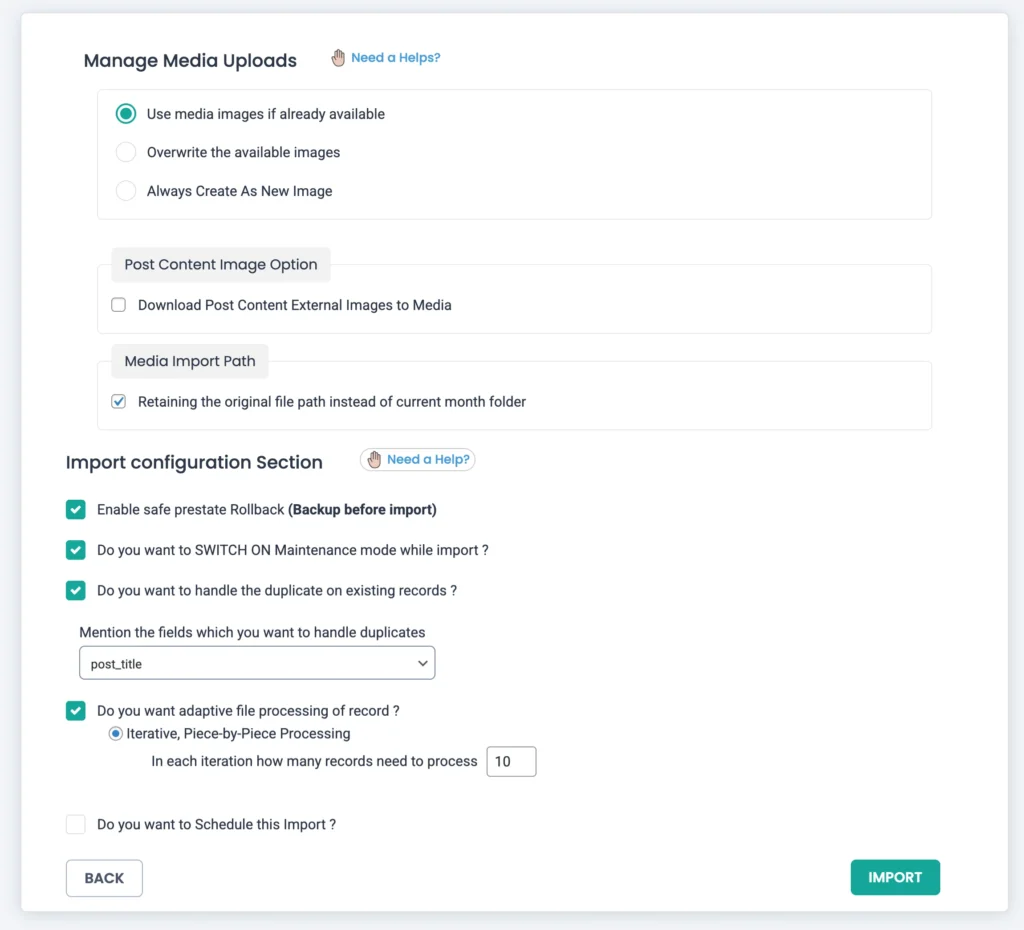
Step 4: Run Import
Click Import to run immediately. Enable ‘Do you want to handle the duplicate on existing records?’ and use the email or customer ID field to detect duplicates.
Verify customers under Downloads → Customers.
How to Export EDD Customers #
The EDD Customers export provides detailed customer profile information, such as:
- Customer ID
- Customer email address
- First name and last name
- Billing address details
- Purchase count
- Lifetime value
- Customer notes
- Custom customer meta fields
Step 1: Open the Customers Export
Go to WP Ultimate CSV Importer → Export. Choose Custom Posts → EDD Customers. The plugin fetches the total customer count and displays it at the top right side.
Click Continue.
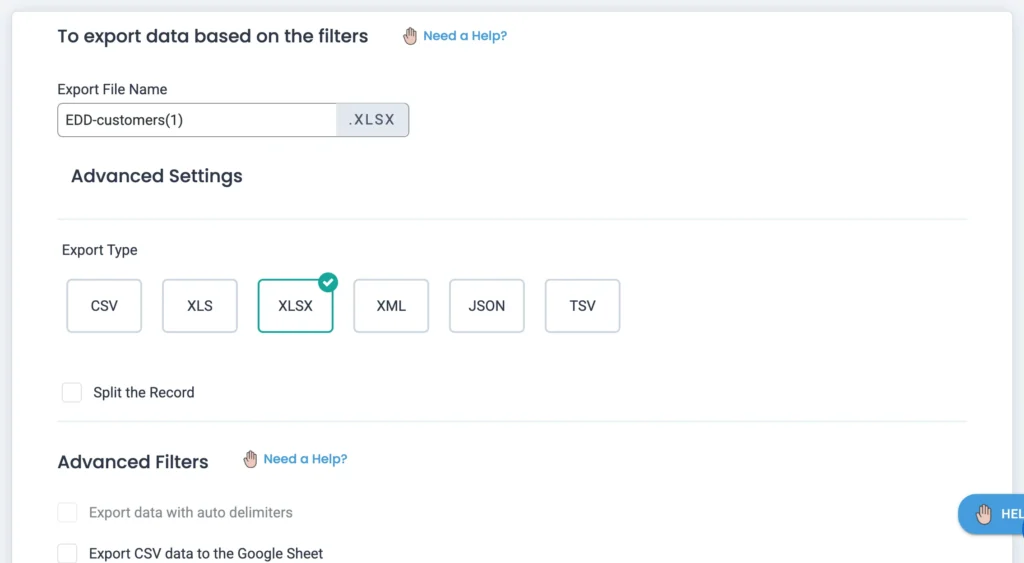
Step 2: Add File Name & Select File Type
On the next page, provide a name and choose one file type. You can also export these values to a Google Sheet. For that, enable the option ‘Export CSV data to the Google Sheet’. Before this, make sure to configure your Google credentials inside Settings → Google Sheet.
Step 3: Run Export Immediately or Schedule it
Click Export. The file will be downloaded with all selected customer records and their related metadata.
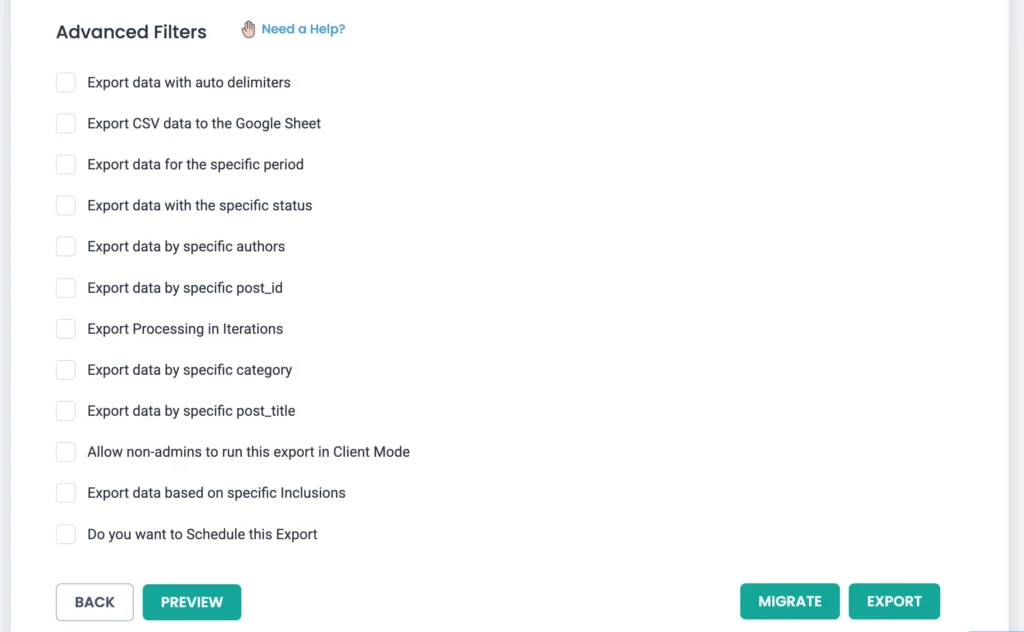
If you want to schedule it, enable the ‘Do you want to Schedule this Export’ option and configure schedule details.