With WP Ultimate CSV Importer, you can easily import and export Listings and Owners in WP Rentals plugin. This guide walks you through importing and exporting each post type step by step.
Tip: If you’re unsure about the format of your import file, create a sample record in the WP Rentals Listings or Owners section, then export it using our plugin. This gives you a clear example of the correct format. You can also refer to our sample CSV and XML files guide for ready-made templates.
If you’re migrating real estate listings and owner or agent data, this process makes it significantly easier.
How to Import Listings to WP Rentals #
Prepare a CSV, XML, Excel, or any other file type supported for import with relevant property listing columns. To know how to provide values for the columns, try exporting the existing listings data with Ultimate CSV Importer. You’ll get a file with the proper value format. We’ll explain how to export WP Rentals listings later in this guide.
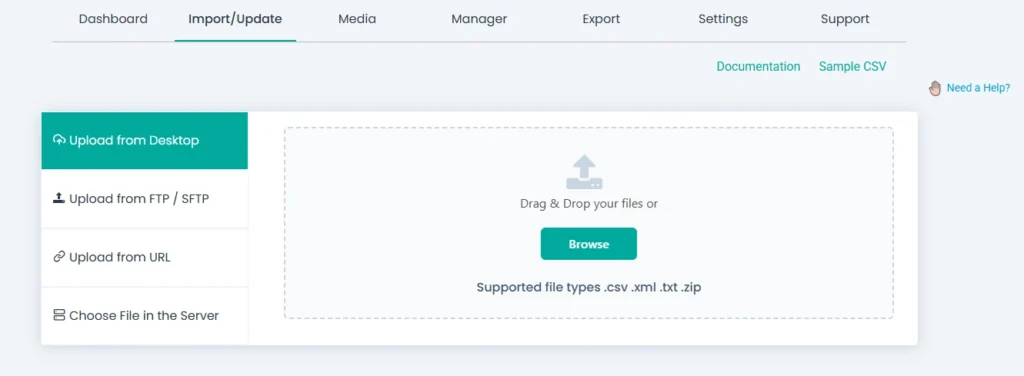
Step 1: Upload your listing file
In your WordPress dashboard, go to Ultimate CSV Importer Pro → Import/Update. Use any file upload option to upload your prepared listing file.
Step 2: Choose Post Type & Import Type
After uploading, you’ll be taken to the next page to configure the post type and the import type. From the dropdown, choose estate_property as your post type. Above that, you’ll see the options “Fresh Import” and “Update Content.” “Fresh Import” is selected by default—it indicates the import of new records. If you’re updating existing records, switch to “Update Content.”
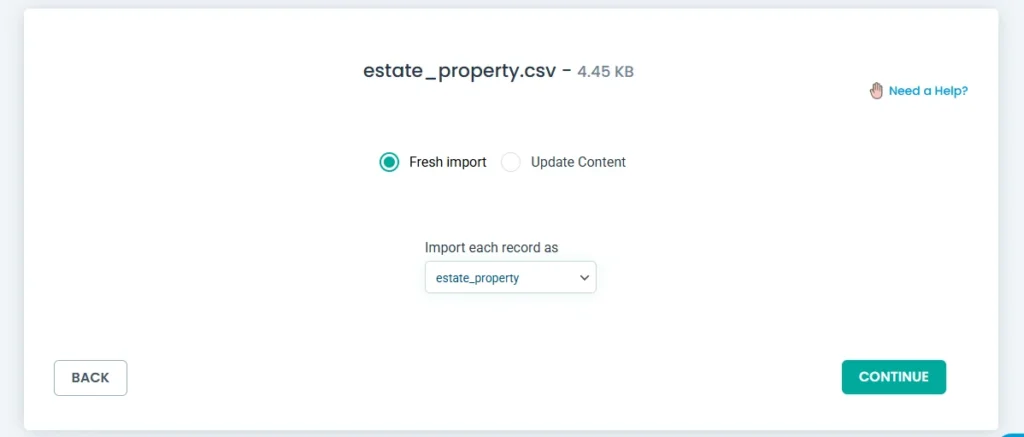
Click Continue to Step 3.
Step 3: Map Listing Property Fields
The plugin will display your file headers and ask you to map them. Fields will be automatically mapped if your file headers and WordPress field headers match.
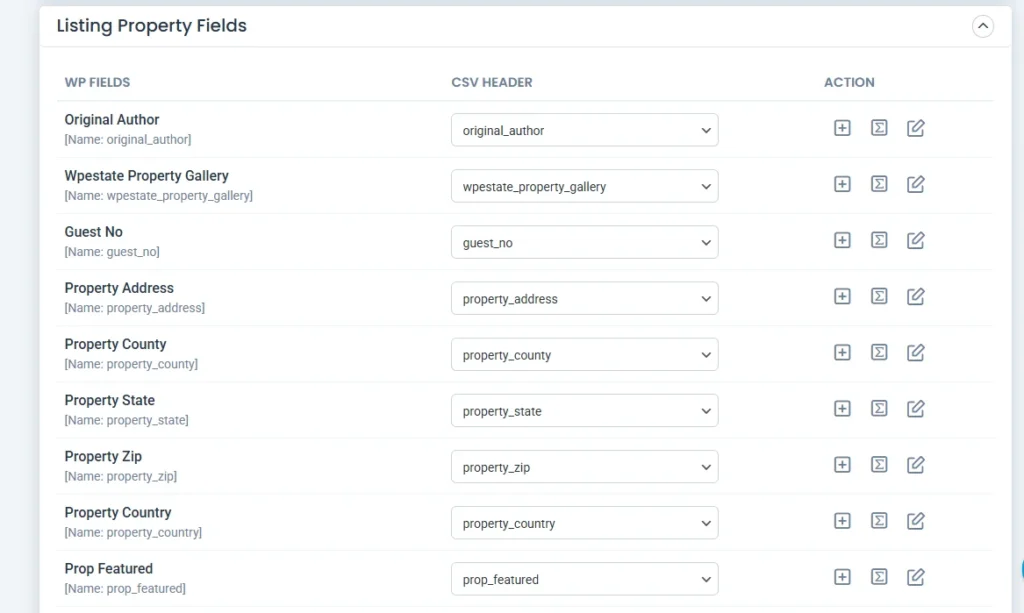
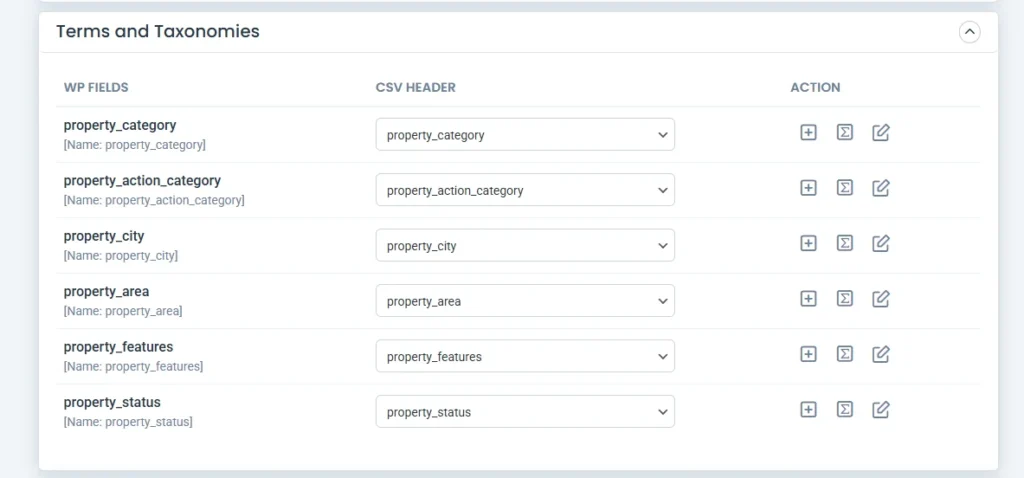
Use the drag-and-drop mode to easily map your file fields. Make sure to map all the fields in the Property Listing Fields and Terms and Taxonomies sections.
Match each column (e.g., property_price, property_location) to its corresponding field in WordPress or the custom fields created by WP Rentals.
Save the fields mapping with a name at the end and click Continue.
Step 4: Begin the Listing Import
Configure media handling and advanced import options like rollback, iteration, or other available settings if needed.
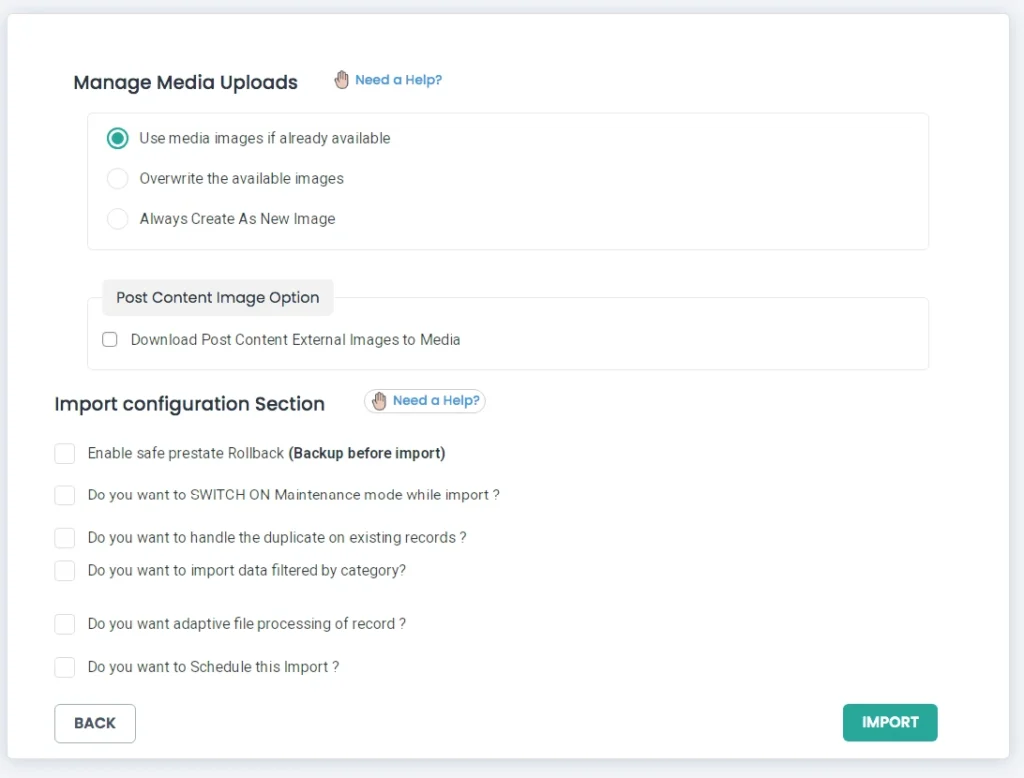
Click Import to begin. The plugin will import all your listing data into WP Rentals Listings.
Once the import is complete, a pop-up will display a completion message along with buttons like Summary Logs and Failed Media for download and verification.
You can verify the result by visiting the Listings CPT directly or by using the log section (as shown in the screenshot below) to verify each record in the admin and frontend views.
How to Export WP Rentals Listings Data #
Like importing WP Rentals Listings, you can easily export them in minutes by following the steps below.
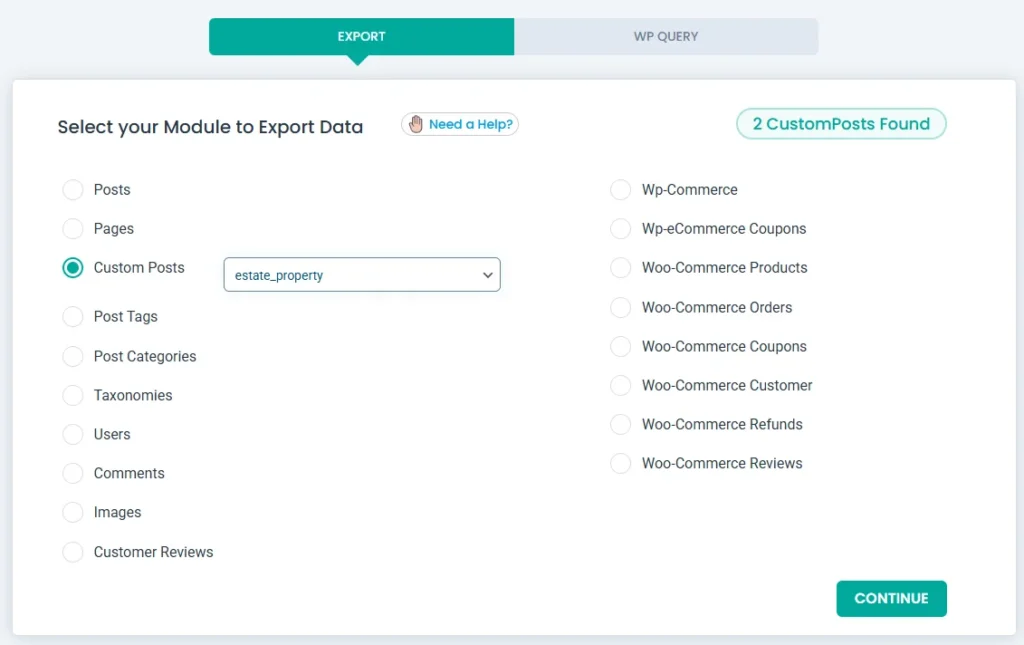
Step 1: Select the Listing Module
Go to the Export tab. It will list all the supported modules.
From here, choose the Custom Posts option. A dropdown will appear to select a CPT name. Select estate_property.
Step 2: Set up Export Settings
Click Continue.
On the next page, provide your export file name and select a file type—CSV, XML, or Excel.
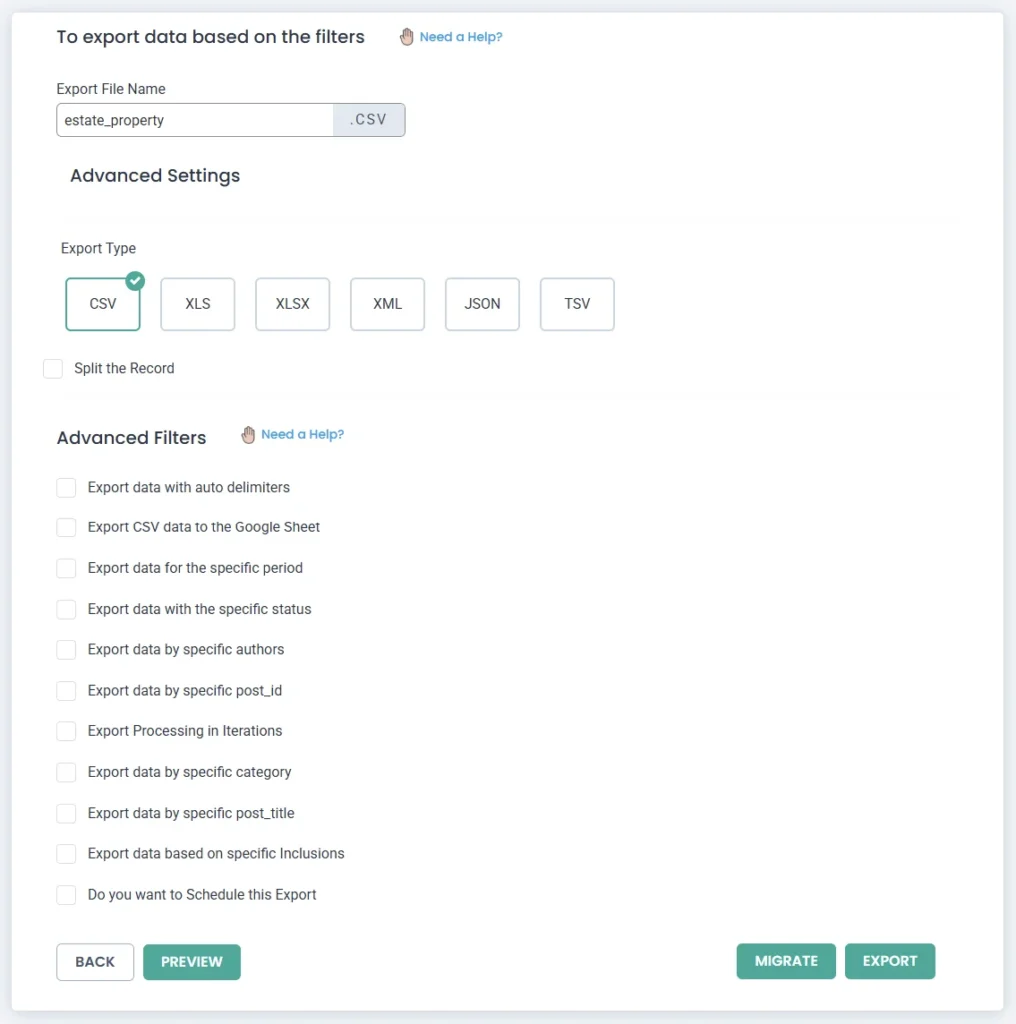
Use Advanced Filters to extract and export only the listings you need. [Learn more about using Advanced Export Filters here.]
You can schedule this export to store the backup on your FTP/SFTP host.
Click Export to begin. The export process will generate a downloadable file. Click Download to save the listings file to your device.
How to Import Property Owners to WP Rentals #
Step 1: Create Your Import File
Start by preparing your property owners file with necessary columns like agent name, email, phone, mobile, social profiles, etc.
Step 2: Upload the Owners File
Go to Ultimate CSV Importer Pro → Import/Update.
Upload your Owners file using any of the available sources: desktop, FTP/SFTP, URL, or server.
Step 3: Choose Post Type
Select estate_agent as the post type from the dropdown. Keep Fresh Import selected if you’re importing new owner records.
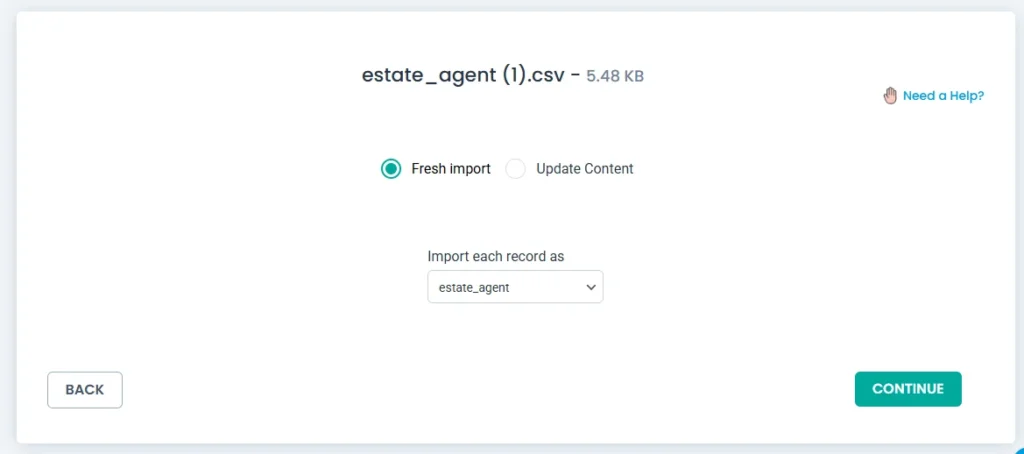
Click Continue.
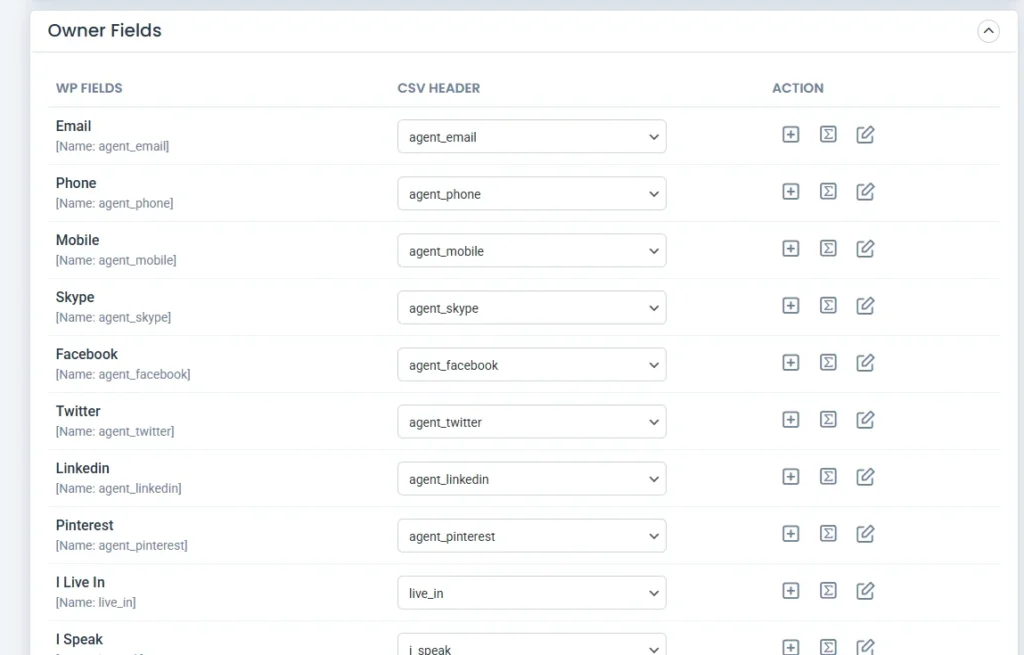
Step 4: Map Property Owner Fields
Map each file column to the appropriate WordPress or custom field used by the WP Rentals theme.
Ensure all fields in the Owners Fields section are mapped.
Apply condition filters to import selected records based on conditions. [Learn more about Import Condition Filters here.]
Save the mapping and click Continue.
Step 5: Start the Import
Click Import to begin importing Owner data. The import will be processed and completed successfully.
Verify the result by directly checking the Owners post type or use the log screen to review each imported record in the admin edit view or frontend.
How to Export Owner Profiles from WP Rentals #
Step 1: Go to Export & Select Post Type
Navigate to Ultimate CSV Importer Pro → Export.
Choose Custom Posts from the list and select the CPT name estate_agent from the dropdown.
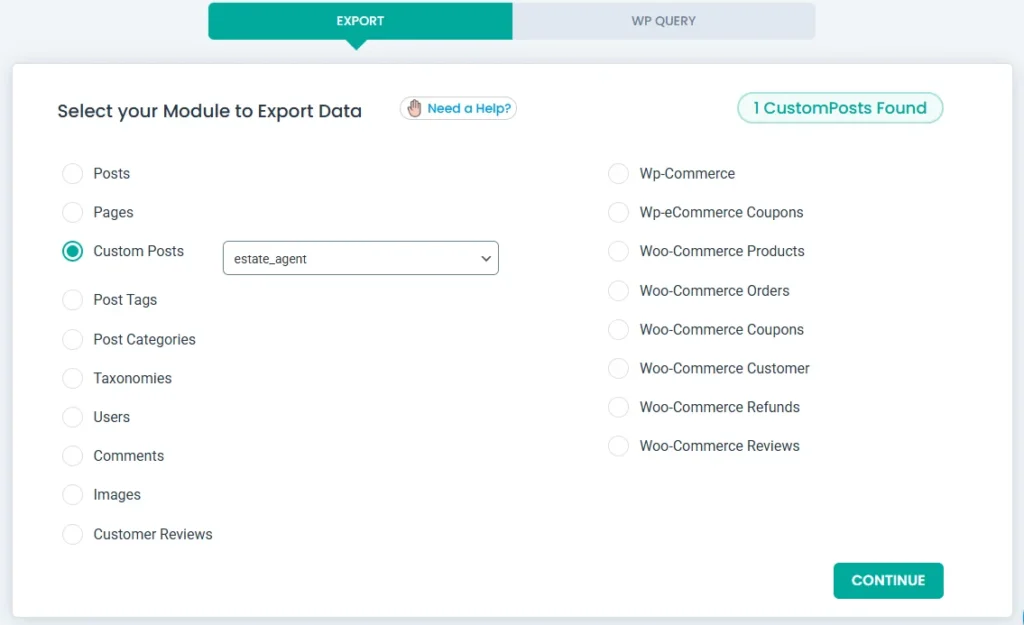
Click Continue.
Step 2: Set up Export Settings & Filters
Provide a file name like estate-owners and choose a file type such as Excel or CSV.
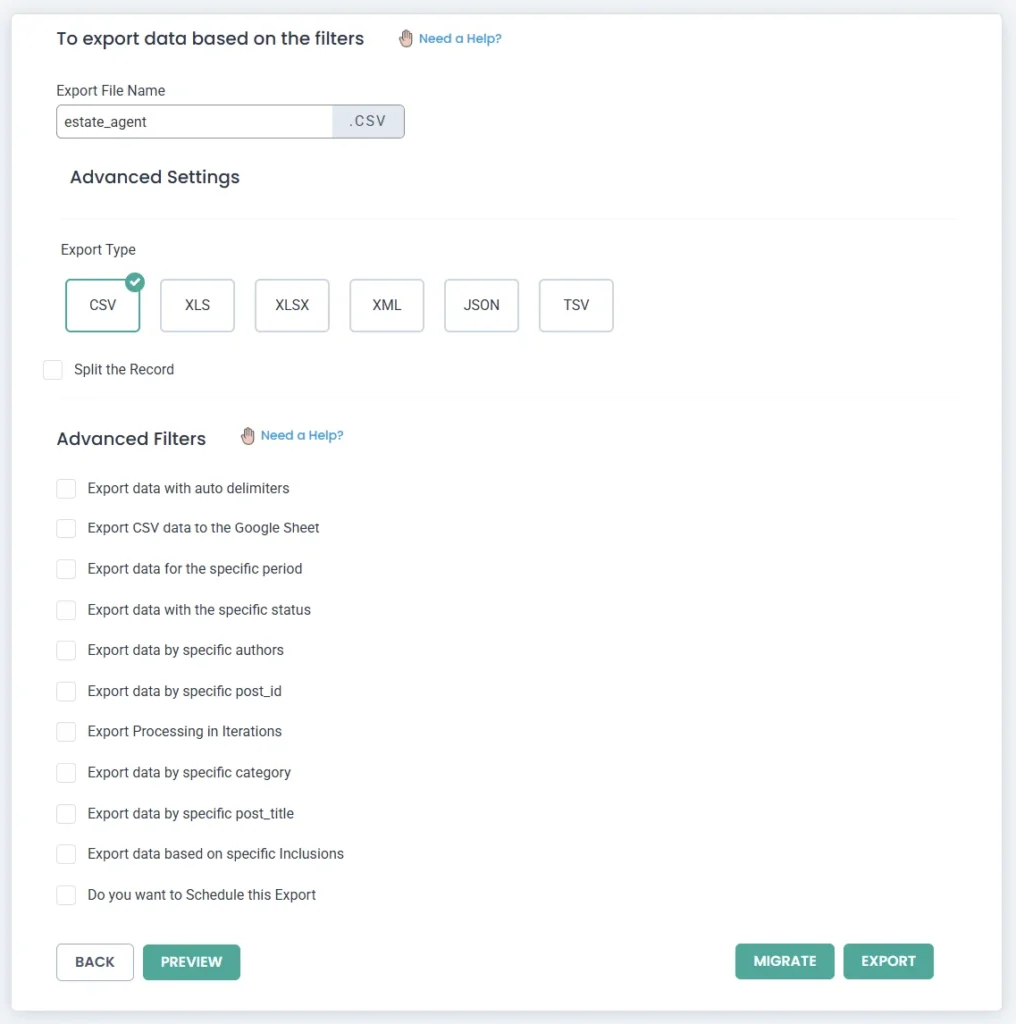
Under Advanced Filters, enable options like filtering by date range, post status, or custom field values, as needed.
Step 3: Export WP Rentals Owners Data
Once the filters are applied, click Export to generate the file in your selected format.
The file will be ready to download. Click Download and save the Property Owner file to your device.