The Sync Configuration section in W2S – WooCommerce to Shopify Sync defines how data moves between WooCommerce and Shopify. From this screen, you control:
- Sync direction
- When sync runs
- Which modules are synced
- What actions are allowed (create, update, delete)
- Optional filters for precise control
This guide explains every available configuration option and how to use them safely on live stores.
Where to Find Sync Configuration #
- Log in to your WordPress admin dashboard
- Navigate to Woo-Shopify → Config

3. This screen contains:
- Sync direction selector
- Sync timing options
- Module-level sync controls
- Advanced filters per module
All sync rules are applied from this page.
Sync Direction Configuration #
Understanding Sync Direction
Sync direction defines where data originates and where it is written. W2S supports three modes:
- WooCommerce → Shopify
Data flows only from WooCommerce to Shopify. WooCommerce acts as the source of truth, and Shopify data is created, updated, or deleted based on WooCommerce.
- Shopify → WooCommerce
Data flows only from Shopify to WooCommerce. Shopify acts as the source of truth, and WooCommerce mirrors Shopify data.
- Bidirectional Sync
Data flows in both directions.
- Changes in WooCommerce sync to Shopify
- Changes in Shopify sync to WooCommerce
- Matching logic prevents duplication

Important considerations:
- Proper SKU and email matching is required
- Conflicting updates should be avoided
- Test with limited data before enabling
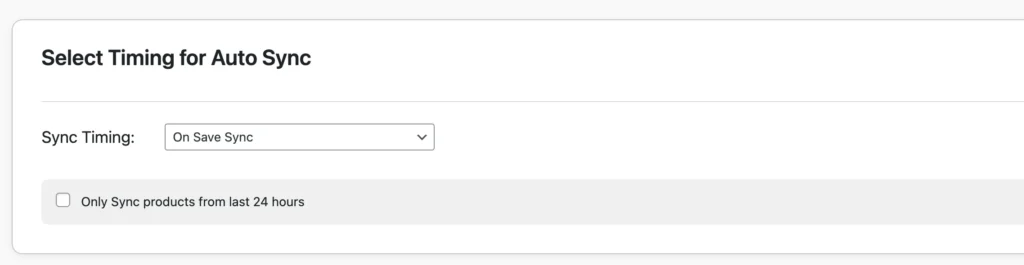
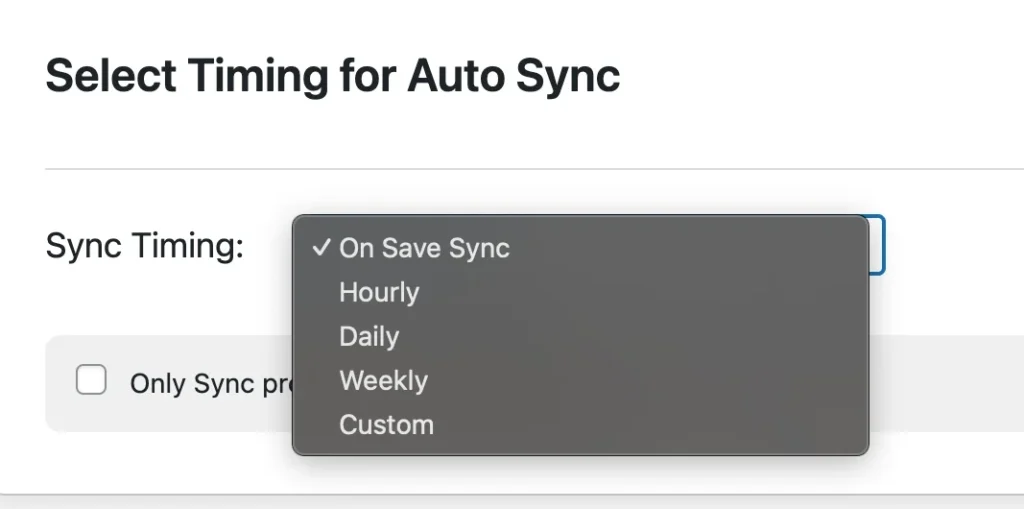
Sync Timing Options #
On-Save Sync (Real-Time or Instant Manual Sync)
When On Save Sync is enabled:
- Any create or update action immediately triggers a sync.
- Sync runs in the background
This is best for:
- Live inventory updates
- Real-time order or customer flow
- Stores that need instant consistency
Schedule Sync or Automation Sync
Choose any one sync timings like hourly, weekly, or daily to sync the data at periodic intervals without your intervention.
- Useful for sync automation
- Sync runs in the background
Limited-Scope Sync: Products Created in Last 24 Hours
W2S provides an option to sync only records created within the last 24 hours.
- Available under sync timing options
- Applies mainly to products
- Reduces unnecessary data processing
This is useful for:
- Incremental updates
- Catch-up syncs
- Avoiding full catalog syncs
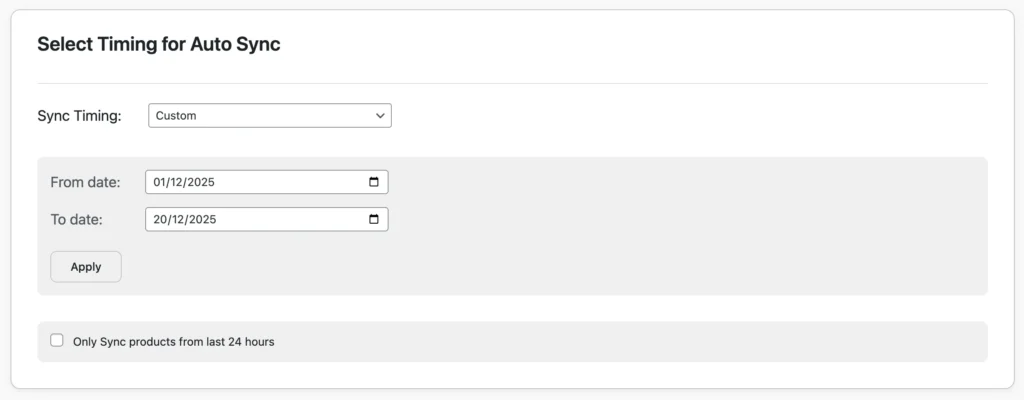
Custom Date-Based Sync
For orders, W2S supports a custom sync type, which allows syncing orders created on a specific date.
- Not a recurring schedule
- Used for one-time or controlled sync runs
- Ideal for historical or day-based order sync
Module Selection #
You can enable sync independently for each module:
- Products
- Orders
- Customers
- Categories
Each module can be turned on or off without affecting others.

Sync Actions per Module #
For each enabled module, you can allow specific actions:
Create
Creates new records on the destination platform.
Update
Updates existing records when changes are detected.
Delete
Deletes records on the destination when deleted on the source.
Important notes:
- This action is permanent
- Applies to products, customers, orders, and categories
- Should be enabled only when deletion parity is required
Advanced Sync Filters #
Each module includes Advanced Sync options except categories.
Orders – Status Filter
You can filter orders by WooCommerce order status before syncing, such as:
- Pending payment
- Processing
- Completed
- Cancelled
- Refunded
This ensures only relevant orders are synced.

Customers – Role Filter (Pro)
Customer sync can be filtered by WordPress user role.
Examples:
- Sync only Customers
- Exclude Subscribers or test users

Products – Scope Filters (Pro)
Product sync can be refined using filters such as:
- Product Status
- Product Categories
- Product Tags
- Stock Status

Saving and Applying Configuration #
After making changes:
- Click Save Configuration
- Settings are applied immediately
- Any active sync respects the latest rules
Always save before running a manual sync.
Monitoring Sync Execution #
All sync activity is recorded in the Audit tab.
Audit logs show:
- Sync start and completion
- Affected records
- Errors or skipped items
- Direction and module details

Audit logs are essential for troubleshooting and verification.
Best Practices #
Initial Setup
- Start with one-way sync
- Test using limited data
- Verify results before enabling bidirectional sync
Live Stores
- Use On-Save Sync carefully
- Avoid changing sync direction during active sync
- Monitor audit logs regularly
Data Safety
- Sync customers before orders
- Sync products before orders
- Use delete actions cautiously
Common Issues #
Sync Not Triggering
- Ensure module is enabled
- Check sync timing option
- Confirm configuration is saved
Unexpected Data Changes
- Review sync direction
- Check enabled actions (especially Delete)
- Inspect audit logs for details
Related Documentation #
- Product Synchronization Guide
- Order Synchronization Guide
- Customer Synchronization Guide
- Field Mapping Guide
- Frequently Asked Questions
Support #
If you need help configuring sync:
- Review the Audit logs
- Check the Troubleshooting Guide
- Contact Smackcoders Support