The Authentication section is the first and most crucial step in establishing a secure connection between your Shopify and WooCommerce stores using the WooCommerce to Shopify Integration Plugin. This step involves generating and entering API credentials from both platforms to enable seamless data exchange.
Step 1: Generate WooCommerce Consumer Key and Consumer Secret #
Go to your WordPress dashboard, open the WooCommerce menu, and choose Settings.
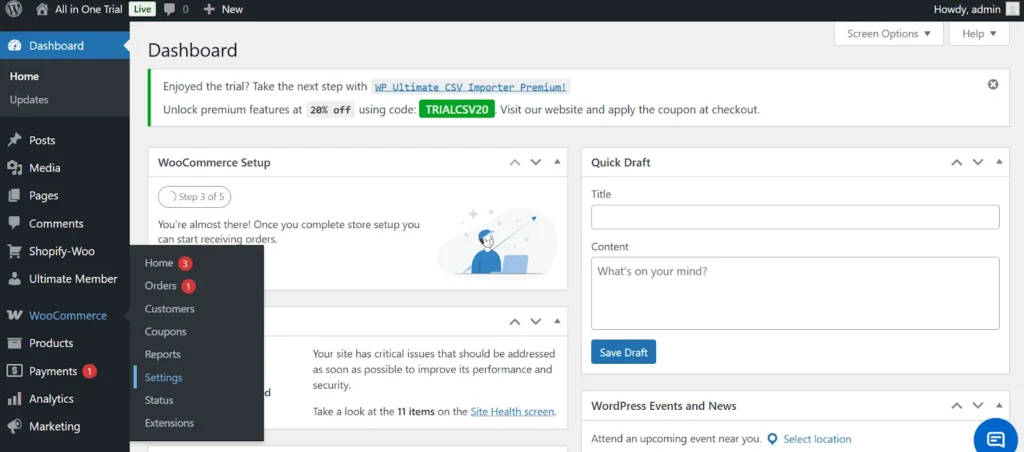
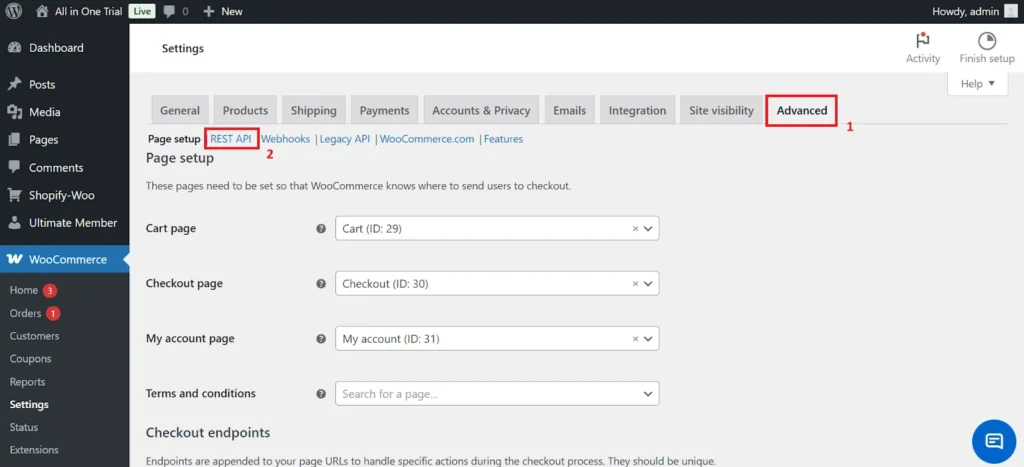
Click the Advanced tab, then select REST API from the submenu.
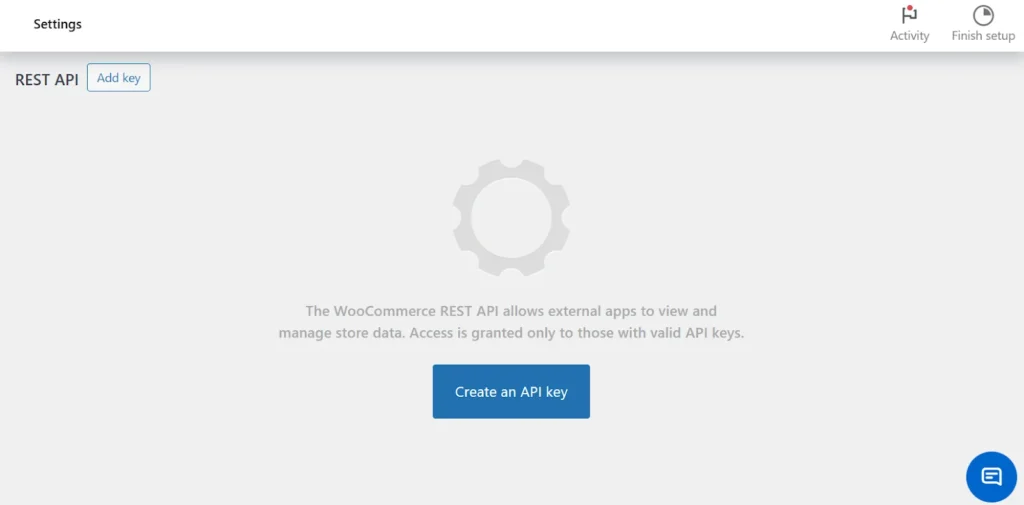
Click Create an API Key.
You’ll be prompted to enter a description for your key. You can use whatever name you choose; this is only for reference.
Next, set the permissions to “Read/Write”.
Note: This is an important step. Without these permissions, the plugin won’t be able to add or update data in your WooCommerce store.
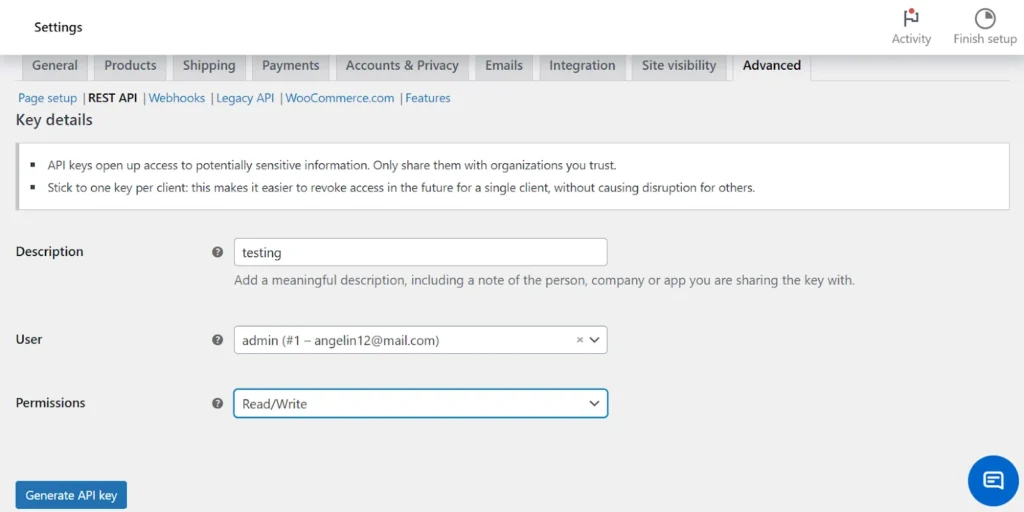
After filling out all the fields, click the Generate API Key button.
At this stage, your Consumer Key and Secret will appear on the screen.
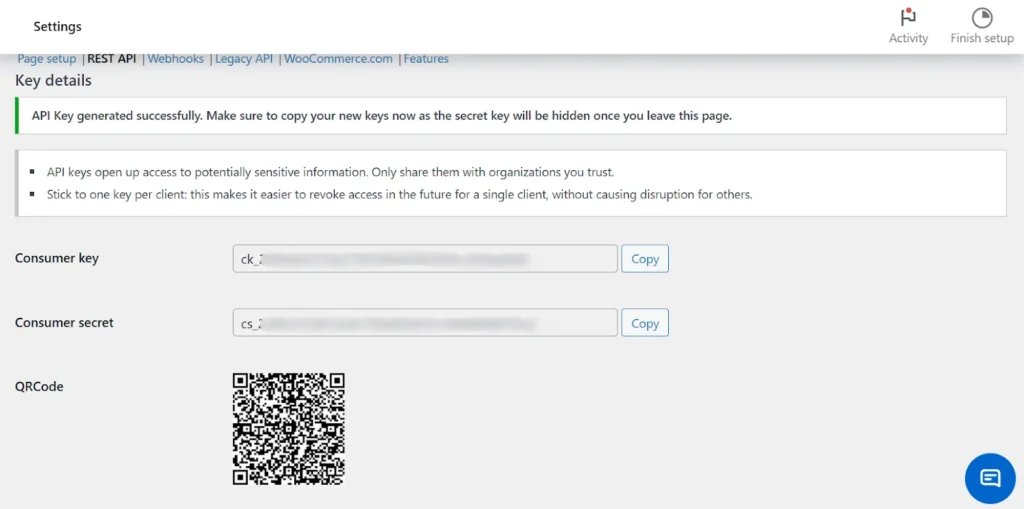
Note: You can only view this once. So make sure to copy and save it on a notepad or somewhere safe. Once you leave this page, the keys will be hidden.
Step 2: Generate Your Shopify Access Token #
In your Shopify admin, go to Settings.
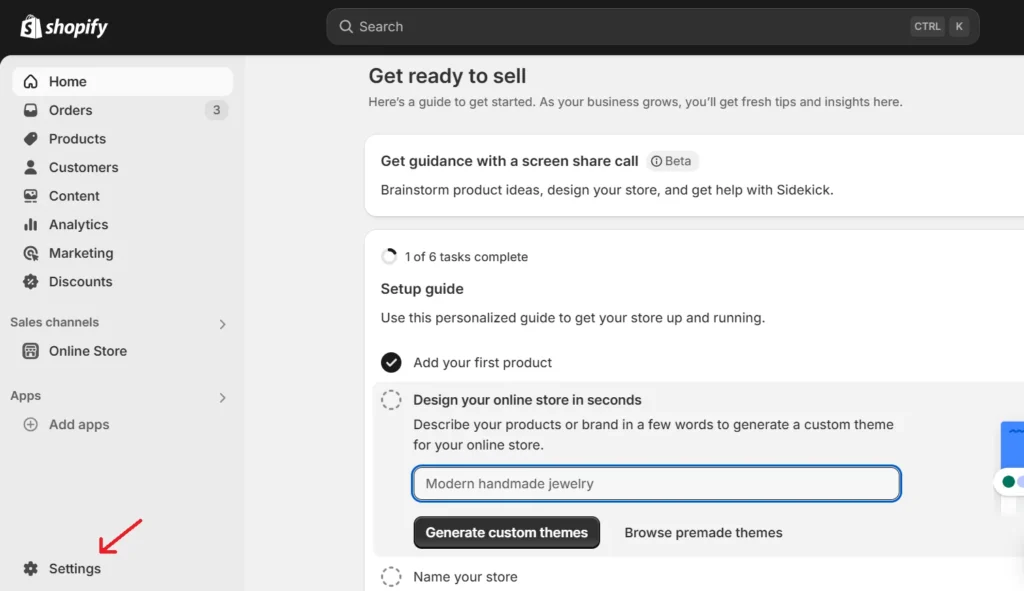
Then click on Apps and Sales Channels from the left-hand menu and select Develop apps at the top right.
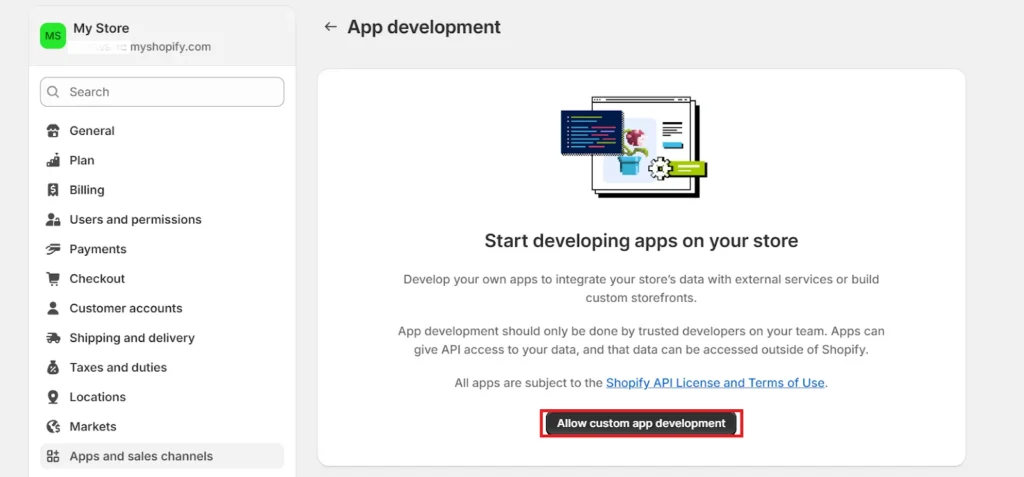
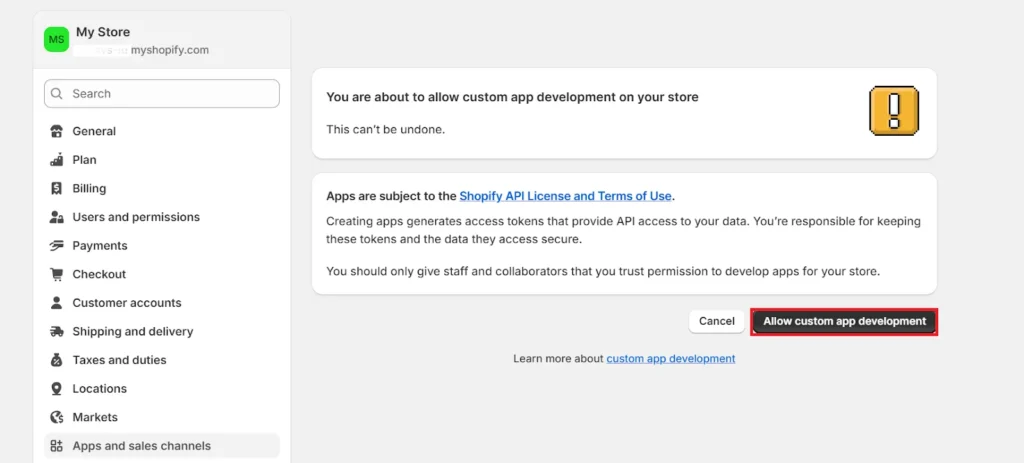
If this is your first time, you may need to click Allow custom app development to continue.
After enabling custom app development, proceed by selecting Create an app.
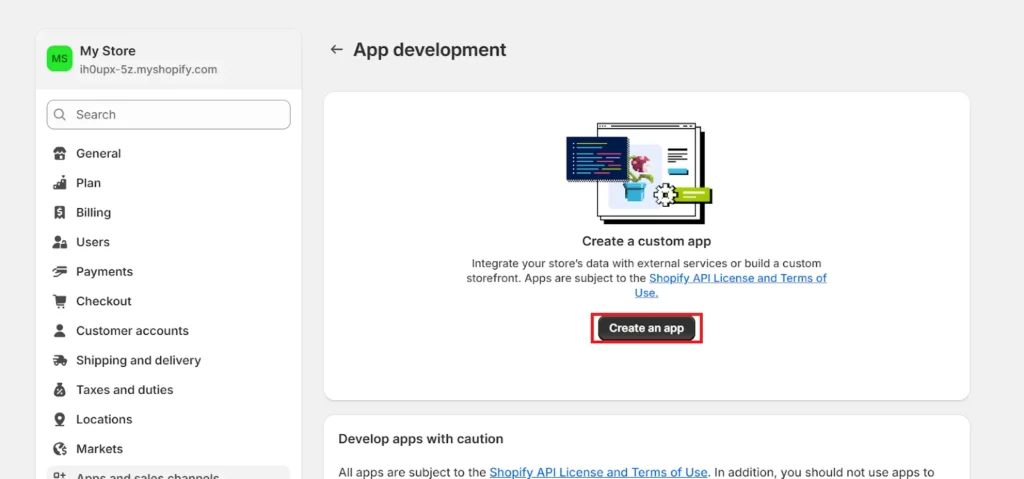
You’ll be asked to enter an app name. Specify your app’s name and click on Create App.
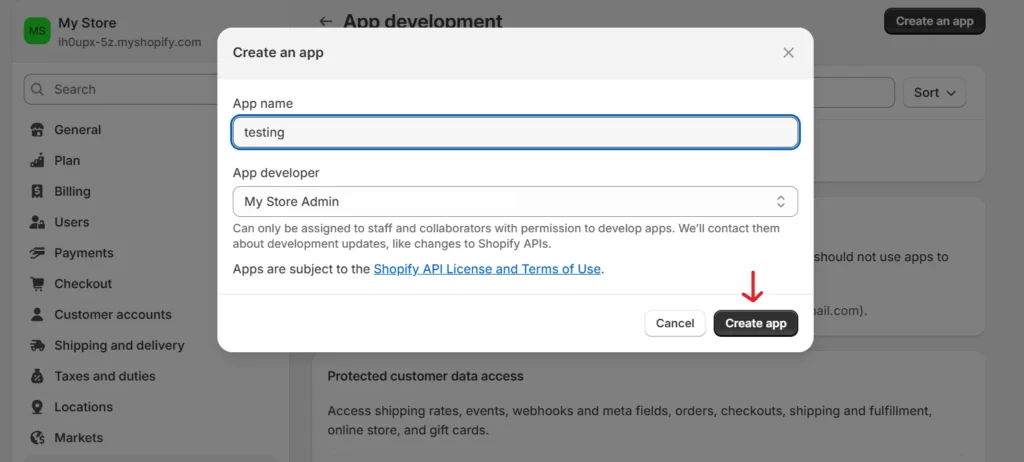
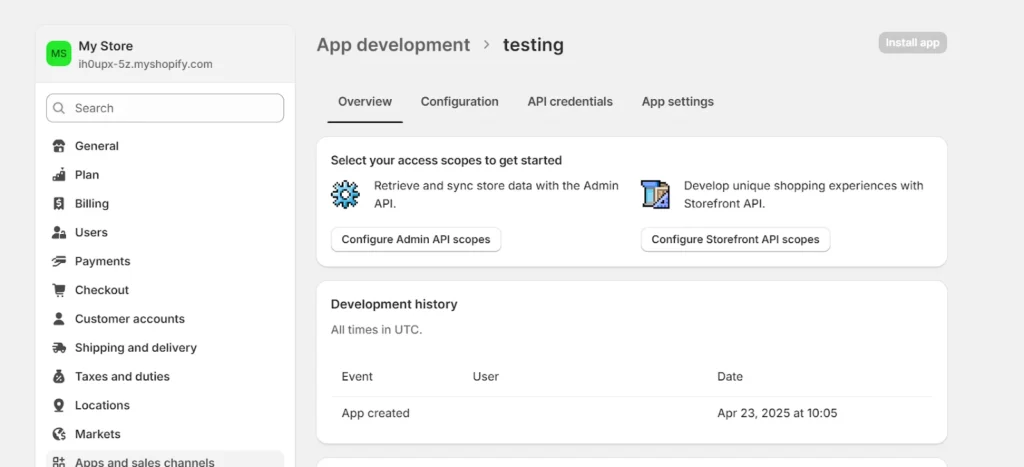
Your app will be created.
You can also see your store’s name near the My Store icon. You will need this later to enter your store’s name to authenticate your Shopify store. Hence, you can copy your store name from here.
Note: While pasting your store name, remove the .myshopify.com., as you are required to enter the store name and not the store link.
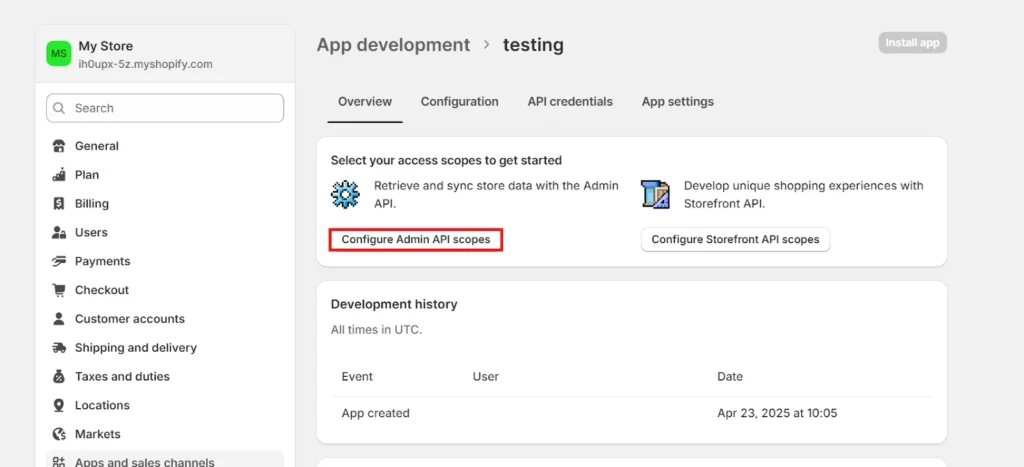
Next, you must configure access permissions to retrieve your token.
Click on Configure Admin API scopes.
Go through the list and check the boxes for all required permissions. Selecting all is usually best for full integration.

Once you are done selecting the access scopes, click Save.
Next, navigate to the API Credentials tab and click on Install App under the Access Tokens section.
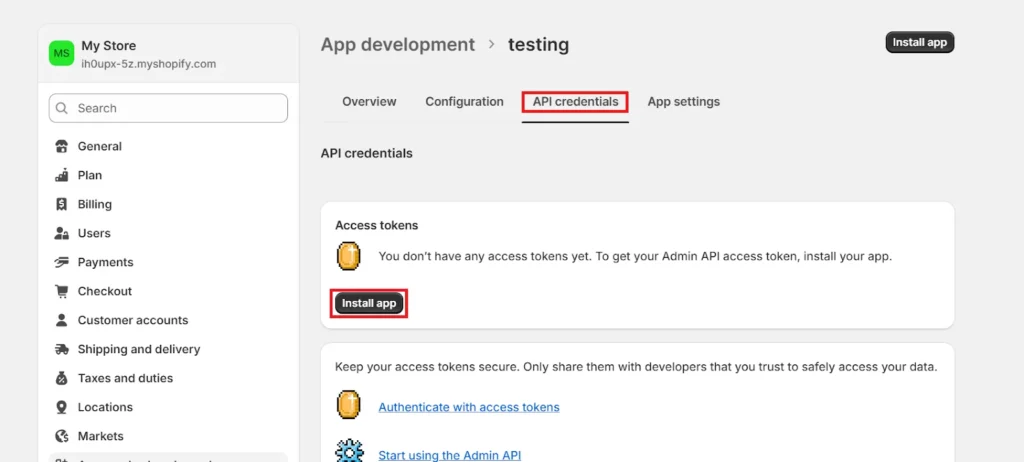

Click Install. Now your access token will be generated.
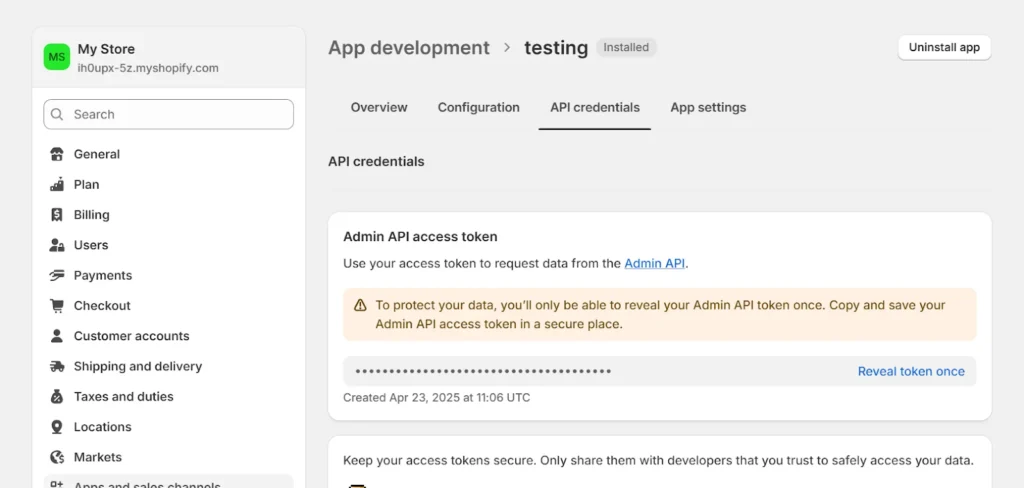
By clicking on the reveal token once, you can view your access token.
Note: Just like before, copy and store the token safely. You won’t be able to see it again.
Step 3: Authorize your Stores #
With these credentials in hand, head over to the WooCommerce to Shopify Integration plugin and paste both the Consumer Key and Secret under WooCommerce, and your store name (without .myshopify.com) and access token under Shopify in the Authentication section. Click Authorize.
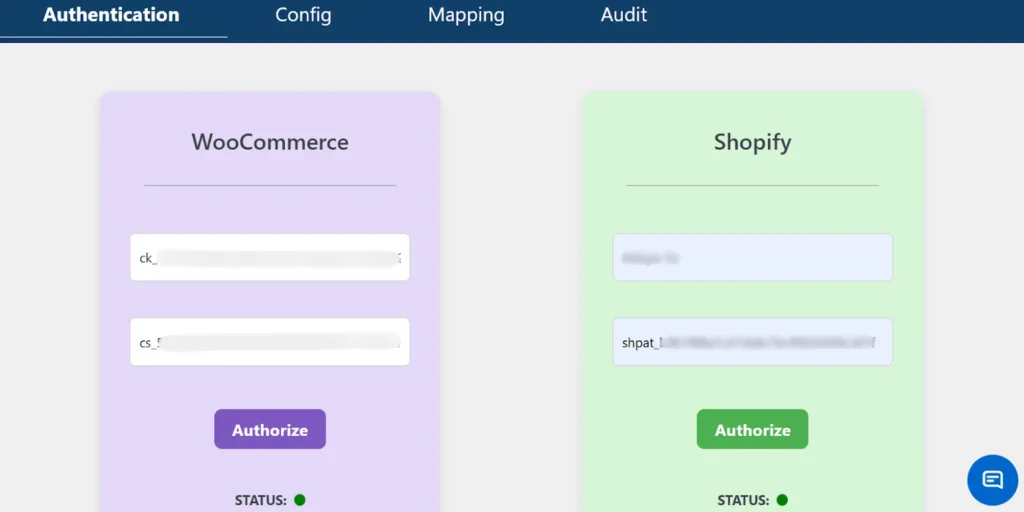
After entering the correct credentials and clicking Authorize, the status indicator will turn green.
This confirms that your Shopify and WooCommerce stores have been successfully integrated and are ready to sync.