Table of Contents
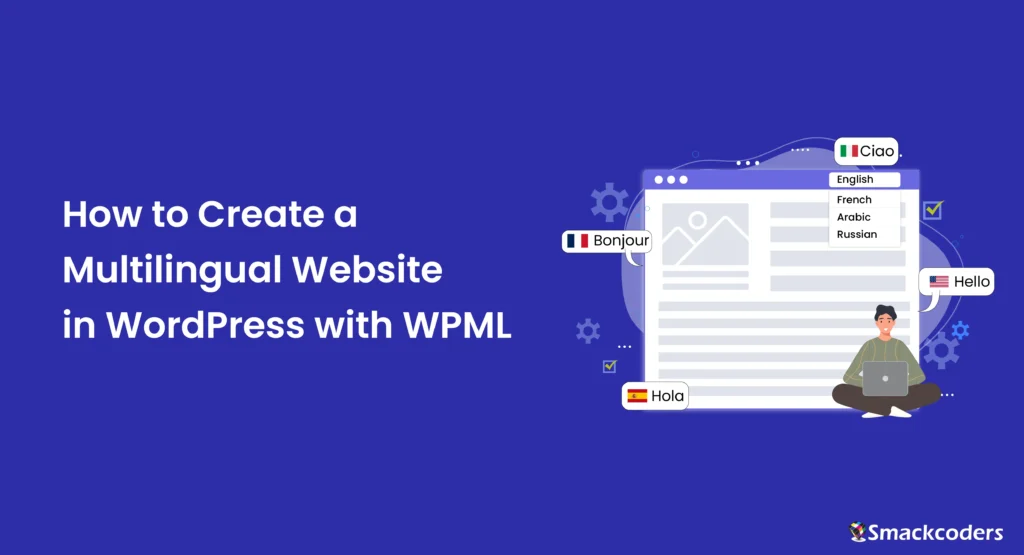
Have you decided to use WPML to create a multilingual website in WordPress? WordPress itself doesn’t have the option to make the website multilingual. You can only create one language website using WordPress. If you want to create a website in another language, then you need a new wordpress website but this is time-consuming and difficult to manage. That’s why you need to install a plugin like WPML to make your WordPress website multilingual. WPML is one of the most popular multilingual plugins that lets you translate your website in every aspect.
Why use WPML to create a Multilingual website in WordPress?
The reason to use the WPML plugin is as mentioned before WordPress doesn’t have the capability itself to make the website multilingual. WordPress can be multilingual only by using a plugin, so you need the WPML plugin. Using WPML is better than creating two different websites. It easily converts your website into multilingual in a single installation. It’s the best way to have your WordPress website in multiple languages. You can easily manage all your multiple languages content in one place using WPML.
WPML offers a seamless translation experience and users can switch between languages with a few clicks. This makes it easier for them to navigate around the website and understand your content.
In addition, WPML is the best multilingual plugin for WordPress due to its extensive features and compatibility with popular WordPress plugins. From WooCommerce to Contact Form 7, the plugin integrates seamlessly and translates accurately.
Installing WPML
For installing WPML, visit the WPML website and purchase the plugin as WPML is only Pro Edition. Once you created an account in WPML, go to the Downloads section and download the plugin. You can either download all the plugins WPML offers manually or download the OTGS installer for easy and quick installation. You should install WPML Multilingual CMS and String Translation plugins to build a multilingual site.
You can also install other WPML plugins that are compatible with other popular plugins like:
- WooCommerce Multilingual & Multicurrency(if you’re an ecommerce website)
- Gravity Forms multilingual(if you’re using Gravity Forms plugin to create forms in WordPress)
- Contact Form 7 multilingual(if you’re using Contact Form 7 plugin to create forms)
- Ninja Forms Multilingual(if you’re using the Ninja Forms plugin to create forms)
- WPForms Multilingual(if you’re using WPForms plugin)
- BuddyPress Multilingual(if you’re using the BuddyPress plugin)
- Advanced Custom Fields Multilingual(if you’re using the ACF plugin)
- WP All Import Multilingual
- Mailchimp Multilingual
- WPML SEO
- WPML GraphQL
- WPML ElasticPress
- WPML Export and Import
Other WPML plugins for building advanced websites:
- Media Translation
- Toolset Types
- Sticky links
- CMS navigation
If you’re using a WPML plugin version older than 4.5 you need to install the below plugin,
- Translation Management
After you download the WPML plugins on your computer, visit your WordPress admin dashboard >> Plugins >> Add New. Upload the downloaded plugin and click Install Now. Once installed, click the ‘Activate plugin’ button. Follow the same steps to install the other WPML plugins.
If you’ve downloaded OTGS Installer, follow the below steps. The OTGS installer is faster and more useful to receive automatic updates in the future WPML versions release.
- Go to the WordPress admin dashboard, visit Plugins >> Add new
- Upload and Install the plugin. Then activate it.
- It will take you to the Commercial tab where you can find the Register WPML link. Yes, next we need to register the site with a key.
- If you have already generated a site key for your website, just click the Register WPML link, paste the key, and click Register.
WP Ultimate CSV Importer Pro
Get Ultimate CSV/XML Importer to import data on WordPress faster, quicker and safer.
Steps to register with site key in WPML
If you haven’t generated a key, click the link ‘get a key for this site’ right below the text box. It will take you to the WPML website to generate a key.
You can generate a site key by following the below steps:
- Login to your WPML account at this link https://wpml.org/account/.
- Navigate to the ‘register WPML on your sites’ link shown under ‘Download and Register WPML’.
- Click on the link, it’ll take you to the Your Registered Sites page.
- Scroll down and click the Add new site button.
- Enter your site URL, for example http://localhost/wordpress.
- Choose the site type, either production or development site, and click continue.
- If you have credits to translate you can choose the number of automatic translation credits in the credits tab, otherwise continue to the next step.
- In the final tab, it will display the site key. Copy the site key and paste it inside the Site Key field shown inside your WordPress dashboard.
After you have configured the site key, check the checkbox of each wpml component you want to install and enable the checkbox of Activate after download. Click Download. This will download, install, and activate all the WPML components on your website.
Requirements of WPML plugin
Before installing the WPML plugin and all other WPML components, make sure your website meets the following requirements:
– Make sure you have WordPress version 4.7 or above.
– PHP version 7.0 or newer, with a minimum memory limit of 128MB (256MB recommended).
– MySQL version 5.6 or higher. Otherwise, MariaDB version 10.1 or later may be used.
– Ensure the WordPress REST API is enabled for WPML to operate correctly.
– The Multibyte String extension is required for utilizing WPML String Translation.
– The SimpleXML extension is necessary for working with XLIFF files in WPML.
– Enable the eval() PHP function.
– Ensure the libxml PHP Module version 2.7.8 or higher is installed.
How to Set Up WPML
To set up WPML, click the Configure WPML shown on the plugins page.
WPML configuration contacts 7 stages which are Languages, URL format, Register WPML, Translation Mode, Support, Plugins, and Finished. Let’s see the configuration of each stage step by step.
1. Configuring Languages
Configure the languages here that you want to translate your site. It automatically fetches the default language from your website or you can choose from the dropdown. Type the language you want to add from translations in the Translation Languages field, you can add as many languages here as you want.
2. URL format
Choose the url format to load the url when switching between languages. It gives you the choice of URL formatting in different options like directories, domains, or parameters. All language content is saved in one database and for your site visitors the languages can appear on different sites.
3. Site Key
If you don’t have registered with the site key, follow the steps explained in the above topics and paste the site key you’ve copied from your WPML account here.
4. Translation Mode
This page will show two options: either you translate everything on your website automatically with translation platform integrations(famous translation platforms like Google, Microsoft, or DeepL) or translate what you choose. The second choice translates what you choose, lets you translate on your own, uses automatic translation, works with translators, etc., If you’ve enabled the second option, it will ask who will translate your website. Choose any one option and move forward to the next steps
5. Support
This section is to enhance your support experience for this plugin. It asks your permission to send your website themes and plugin details to wpml.org. That helps their team to contact you if it has any compatibility issues and the solution. You can either select no or yes.
6. Plugins
If you have installed the plugins it will directly land on the finish section, otherwise install the necessary wpml plugins.
7. Finish
Select the Finish button to make sure all the steps are configured.
Conclusion
WPML is a powerful plugin that can help you create a multilingual WordPress website with ease. By following the steps and tips outlined in this guide, you can effectively translate your content and reach a broader audience. Whether you’re running an online store or a personal blog, WPML provides the tools and features you need to make your website accessible to users from around the world.
Now that you have a comprehensive understanding of how to use WPML, it’s time to start translating your WordPress website and expanding your reach. Embrace the power of WPML and unlock the full potential of your website’s global appeal.
