Table of Contents
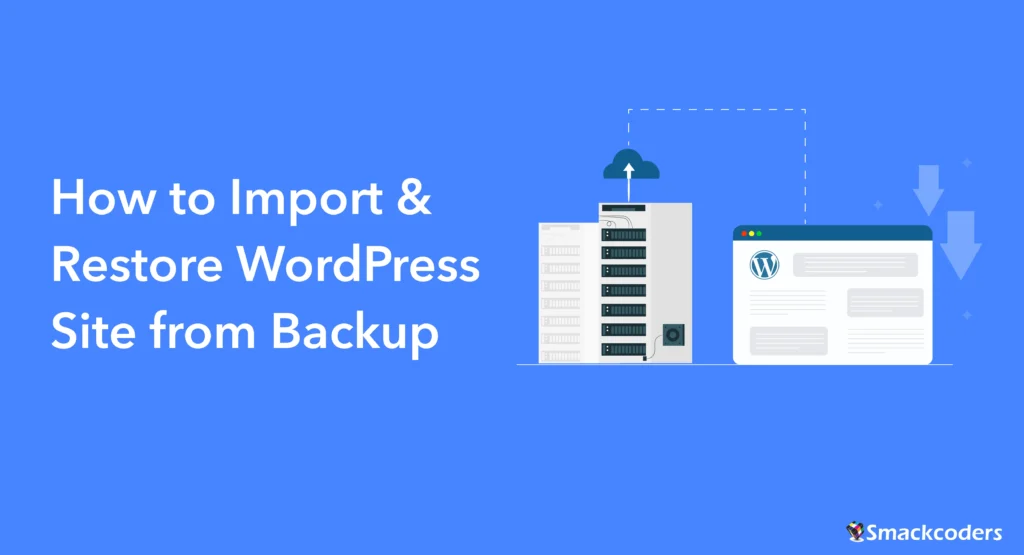
Accidentally deleted your WordPress site? Hit by a hack or server crash? The fastest way to restore WordPress site is from a backup – get back online without losing your data.
In this guide, you’ll learn exactly how to restore a WordPress site from a backup – step by step – whether you’re using FTP, phpMyAdmin, or a backup plugin like UpdraftPlus or Duplicator.
What Is a WordPress Backup?
WordPress backups are essential copies of your website’s data – including content, configurations, and settings. They safeguard against data loss caused by accidental deletion, hacking, or server failures, giving you a reliable recovery option when things go wrong.
How to Restore WordPress Site from a Backup
Here’s why you need to restore WordPress site from a backup regularly:
- Website Recovery
In the event of a website malfunction, data corruption, or a security breach, backups enable swift recovery, minimizing downtime and ensuring business continuity.
- Data Security
Backups secure valuable website data and prevent potential loss due to cyber threats, server issues, or human errors.
- Site Import & Restoration
Restoring WordPress sites allows seamless restoration of the entire site or specific components, maintaining the integrity of the website’s structure and content.
- Peace of Mind
It empowers website owners to experiment with updates, plugins, and configurations without the fear of irreversible consequences.
- Efficient Troubleshooting
Backups facilitate efficient troubleshooting by offering a snapshot of the site’s previous state, without losing critical data.
- Disaster Preparedness
Backups act as a crucial component of disaster recovery planning during server failures or catastrophic events.
- Version Control
Regular backups allow website owners to revert to a specific point in time, preserving different stages of website development.
Steps to Back up WordPress Data
Follow these steps to restore WordPress site data with a comprehensive backup:
How to Back Up WordPress Files
Identify and collect all essential website files. Use an FTP client or your hosting file manager to download files from the WordPress root directory. This includes themes, plugins, uploads, and other customizations.
Access the Web Hosting Control Panel:
- Log in to your web hosting control panel (e.g., cPanel, Plesk).
- Use the provided credentials to access the control panel dashboard.
- Open the File Manager tab and choose the file you want to back up from the ‘Document Root for’ section.
- Ensure the selected file is zipped for efficient data backup.
- The mandatory files to back up are the wp_content file, which includes all WordPress themes, plugins, and image uploads, and the wp_config file, which includes the database configuration.
WP_content file
First, compress the wp_content file. It takes some more time, depending on the file size that contains all of your WordPress site images. Once compressed, right-click on the file and click on download. It will download your wp_content to your local computer.
wp_config file Next, download the wp_config file to your computer.
Database backup: Locate and Utilize phpMyAdmin
- Look for the phpMyAdmin tool within the control panel interface.
- phpMyAdmin is commonly found under the “Databases” section.
- You can see all the databases of your server in the left sidebar.
- Select the WordPress database from the left sidebar. Make sure the database you select matches the one used by your WordPress site.
- Once you select the database, it will show all the tables, posts, status URLs, etc.
- Now you can select the “check all” tab and click on Export from the top bar.
- It exports all of your content, images, and the extra uploads that are stored in WPE files. And it will be stored as an SQL file.
- Click on ‘Go’ to export the database.
- Now your Database SQL file is exported to your Downloads folder.
What we have downloaded so far
- Database SQL file
- Content file containing your WordPress themes, plugins, and site data
- Configuration File
Database Backup: Complete Backup
Compress Files:
- If they are not already compressed, create a ZIP file of the downloaded WordPress files.
- Combine the zip file with the SQL dump into a single folder for convenience.
Create a New Database:
- If you’re not restoring to an existing database, create a new one through your hosting control panel.
- Set up a new MySQL database and create a user with full privileges for that database.
- Make sure you have remembered your new database name and password
Points to be remembered before importing a WordPress site from the backup
Verify Storage Space
- Check your hosting account to ensure there is sufficient storage space for the backup files.
- Make sure your hosting account has adequate space for both the website files and the exported SQL database.
Secure Backup Storage & Integrity Checks
- Store backups securely using reputable cloud services such as Backblaze, Google Drive, or Amazon S3, with at-rest encryption (e.g., AES‑256) and in-transit encryption (SSL/TLS).
- Before importing, verify file integrity using checksums (e.g., sha256sum) to ensure backups haven’t been corrupted or tampered with.
- For file transfers, use secure protocols like SFTP instead of standard FTP.
Backup Compression
If needed, compress the backup files into a single archive for easier management and transportation. Use zip or tar.gz formats, depending on your preferences.
Document Backup Details
Keep a record of the backup details, including the date, file sizes, and any specific configurations. This documentation is useful for future reference.
Regular Backups
Establish a routine for regular backups, ensuring that your website’s data is consistently protected. Automated backup solutions or plugins can simplify this process.
Test Restoration
Periodically test the restoration process using a staging environment. This helps ensure the backup files are complete and functional.
Emergency Preparedness
Be prepared for emergencies by having a disaster recovery plan in place. This includes maintaining backups and knowing how to restore your website across different recovery scenarios.
Import your WordPress website Files
- Use an FTP Client
- Download and install an FTP client such as FileZilla or WinSCP.
- Open the FTP client and connect to your web hosting server using the provided FTP credentials.
2. Connect to Web Hosting Server
- Enter the FTP server details, including hostname, username, password, and port (if needed).
- Connect to the server to establish a secure FTP connection.
3. Upload WordPress Backup Folder Contents
- Install the new WordPress with the WordPress Installer.
- On the PHPMyAdmin, select the new database from the left side menu.
- Now click on Import. Select the option “Choose the file” and browse the downloaded SQL file of your old WordPress site.
- Click on Go.
- Now all the SQL files of the old site have been imported. Now change or edit the site URL to the new site URL.
- Once you import the SQL file, navigate to the file manager on the homepage of the hosting control panel.
- On the Document Root field in the Directory selection, select the directory of the new WordPress site.
- It will display all the WordPress new install files. First, delete the wp_content folder by right-clicking on the file.
- Then, upload our downloaded wp_content of our old WordPress site by clicking on the upload option at the top bar.
- Choose the zipped file of the wp_content from the downloads.
- Upload Backup Files to the public_html Directory in WordPress. Once it is uploaded, extract the zip file of wp_content in the directory /public_html/yoursite. That is, upload all the files and directories from the backup folder to the public_html directory on the server.
4. Replace the wp-config.php File
- Within the public_html directory, locate the existing wp-config.php file. Download the wp_config file of our new site and double-click or select the ” open with” option on the file to open it in the text editor.
- Replace this file with the wp-config.php file from your WordPress backup.
- Confirm that the backup wp-config.php file contains accurate information, including database credentials.
5. Edit the Database Credentials
- Open the wp-config.php file in a text editor and verify the accuracy of the database credentials.
- Edit the database name, password, and hostname with the new and updated data.
- Save the changes made to the wp-config.php file.
- Close the text editor.
- To set a new password, navigate to the MySQL folder on the home page of cPanel and select your new site database. And make sure all the privileges are assigned to that user.
- Confirm that the database name, username, password, and host match the details of your MySQL database.
- Make any necessary adjustments to ensure accurate database connection settings.
6. Edit the table prefix
- Whenever you install WordPress, it will provide the table prefix. Open the PhpMyAdmin and select the new database where we have imported the SQL file.
- Replace the table prefix with the new table prefix of the wp_config file
- Now, head back to the File Manager and overwrite this updated new config file
- That’s it, go back to your new site and refresh it. You have successfully imported the WordPress site with the backup.
Clear Cache (if necessary)
If you use caching plugins or server-side caching, clear the cache to ensure the new site reflects your changes.
Verify Website Functionality
- Visit your WordPress website in a web browser.
- Check various pages, posts, and functionalities.
- Ensure that the website loads correctly and that all functionalities are working as expected.
Additional Considerations for WordPress Site Restore
Clear Browser Cache and Cookies:
- Clear your browser’s cache and cookies to view the restored site with a fresh perspective.
- This helps prevent caching-related issues.
Update Permalinks (if necessary)
Go to Settings > Permalinks in your WordPress dashboard and click ‘Save Changes’ to refresh your permalink structure.
Update WordPress Plugins and Themes
Ensure that WordPress and your themes are updated to the latest versions. Update any plugins in WordPress that may need updating to ensure compatibility and security.
How to Test Your Restored WordPress Site After Backup
- Open a Web Browser:
- Launch a web browser of your choice.
2. Visit Your WordPress Site:
- Enter the URL of your WordPress site in the browser’s address bar.
3. Confirm Proper Loading:
- Ensure that your WordPress site loads properly without any errors.
- Check for the presence of all website content, including text, images, and other media.
4. Identify and Address Issues:
- If there are any errors or missing components, identify the issues.
- Address errors promptly by reviewing logs, adjusting configurations, or restoring missing elements.
Monitor for Issues
Once you restore WordPress site, keep an eye on it for the next few days to ensure that there are no issues. Monitor site performance, check for broken links, and address any unforeseen problems.
WordPress Backup Plugins for Easy Restoration
Enhance your workflow with modern plugins that simplify the backup and restoration process. Use plugins like UpdraftPlus, Duplicator, or BackupBuddy for automated backups and one-click restoration, reducing the chances of manual errors.
Restoration Example with Duplicator:
- Upload the Duplicator archive .zip and installer.php to the new server.
- Access yourdomain.com/installer.php in your browser.
- Follow the step-by-step wizard to restore your site.
Security Tips for WordPress Backup & Restore
Security is critical when you restore WordPress site from a backup. Consider the following:
Verify SQL integrity using SHA-256 checksums:
sha256sum backup.sql
- Use SFTP (Secure File Transfer Protocol) instead of standard FTP to encrypt your uploads.
- Sanitize SQL files using tools like mysqlcheck or text editors to remove malicious code before import.
Restore Specific WordPress Content with REST API
If you only need to restore specific content:
- Use the WordPress REST API for partial imports:
- Example: GET /wp-json/wp/v2/posts
- Import posts from a JSON backup using scripts or tools like Postman or WP-CLI.
- Example: GET /wp-json/wp/v2/posts
- Ideal for large sites where full database restoration isn’t required.
Restoring WordPress Site on Cloud Hosting
If you’re using managed cloud hosting:
- Hosts like WP Engine, Cloudways, and Kinsta offer built-in backup and restoration tools.
- Always test the restoration in a staging environment before going live to avoid breaking the production site.
Optimize Performance When Restoring Large WordPress Sites
Handling large databases or file imports? Update your php.ini settings:
memory_limit = 512M
max_execution_time = 300
Use WP-CLI for faster and more reliable imports:
wp db import backup.sql
Troubleshooting WordPress Backup Restore Issues
Facing issues while trying to restore WordPress site? Try the following fixes:
1. Blank White Screen After Restore
If you experience a blank white screen after restore, enable the debugging option in wp-config.php as below:
define( ‘WP_DEBUG’, true );
Then check for PHP errors or plugin conflicts.
2. Database Import Fails
If the database import fails, break the SQL file into smaller chunks. Then use WP-CLI instead of phpMyAdmin and run the command below:
wp db import file.sql
3. Login Page Redirect Loop
If you experience a login page redirect loop error, then you can clear cookies/cache. Disable security plugins via SFTP by renaming their folders.
4. Theme or Plugin Errors
For theme or plugin errors, ensure that the restored themes/plugins are compatible with WordPress 6.6+. Update all components post-restore. You can also use Wordfence to scan for malware after restoration.
Conclusion
In summary, to restore WordPress site from a backup, follow these key steps:
- Access the web hosting control panel and import the database using phpMyAdmin.
- Use an FTP client to upload WordPress files to the server, including the wp-config.php file.
- Test the restored site by opening a web browser, confirming proper loading, and addressing errors.
Regular backups are crucial for safeguarding your WordPress site. The process of importing a site from a backup is straightforward, providing a reliable method for site restoration. Regular backups make the restoration process seamless, allowing you to recover your site quickly in case of unforeseen issues.
Frequently Asked Questions
1. How do I import a WordPress site from a backup?
To import a WordPress site from a backup, access your hosting control panel, import the SQL database via phpMyAdmin, upload your wp-content and wp-config.php files via FTP, update the database credentials, and verify the site loads correctly in your browser.
2. How do I restore a WordPress site without losing data?
To restore a WordPress site without losing data, always use a complete backup that includes your database SQL file, wp-content folder, and wp-config.php file. Verify file integrity using checksums before importing and test the restoration in a staging environment first.
3. What is the easiest way to restore a WordPress site from a backup?
The easiest way to restore a WordPress site from a backup is by using plugins like UpdraftPlus or Duplicator. These plugins offer one-click restoration, reducing the chances of manual errors compared to the manual FTP method.
4. How do I fix a blank white screen after restoring a WordPress site?
If you see a blank white screen after restoring your WordPress site, enable debugging in wp-config.php by adding define( ‘WP_DEBUG’, true ); and check for PHP errors or plugin conflicts.
5. Can I restore only specific pages or posts in WordPress?
Yes. You can restore specific pages or posts in WordPress using the WordPress REST API, export/import tools, or plugins like WP Ultimate CSV Importer for more targeted restoration without restoring the entire database.
