Table of Contents
Don’t make the same mistake many bloggers make by not including a contact form on your webpage. Contact forms serve as the bridge connecting your audience with you. Breaking this connection will only leave you in the dark about how your content is effective and what your audience likes the most.
Are you ready to bridge that gap? We are thrilled to guide you!
From steps to create free WordPress contact forms to tips for optimizing and styling your form, we will go into every detail you need to know to help your WordPress contact form setup process.
WordPress does not provide a default option to create contact forms. So, we need additional plugins to add contact forms to our content. But you need not worry. It’s easier than it sounds.
In this blog, we will discuss why contact forms matter for your site, the best and free contact form plugins, as well as the steps to create, style, and optimize your contact forms.
Let’s go!
Why a Contact Form Matters for Your WordPress Site?
First, it opens up communication with your readers. Having a contact form on your page lets the visitors know you are a professional and that you welcome suggestions, connections, inquiries, and sometimes even appreciations.
You may think, why go through the trouble to create a contact form in WordPress when you can leave your email ID on your site to let your readers reach you. However, it becomes a safety concern. Your email might become an easy target for spammers and hackers.
The second reason why adding a contact form matters is, it serves as a protection, maintaining your privacy from spam and bots.
Third, you get the exact details you need from your readers by specifying them in your forms, such as their email ID, contact information, project details, etc. You might not be able to collect the data you expect from the readers when they email you in general.
Finally, it becomes absolutely convenient for the readers as they don’t have to open their email apps to connect with you. This encourages the audience to communicate with you better.
Best Free WordPress Contact Form Plugins
You do not necessarily need to know any serious coding to embed contact forms in WordPress. You can simply use any of the following plugins to easily and quickly add contact forms on your site with zero coding.
Below we’ve picked some of the best free WordPress contact form plugins for you:
- WPForms
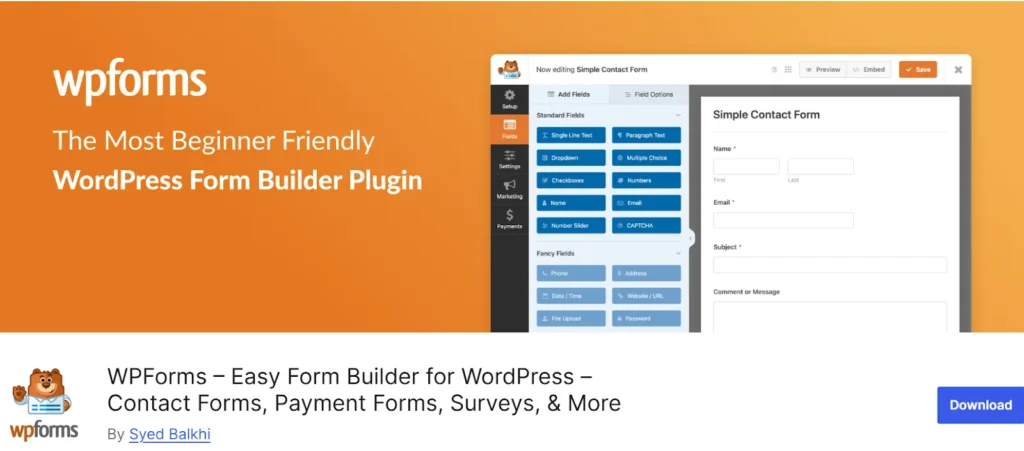
WPForms is, hands down, the best-known form builder that offers a drag-and-drop interface with multiple templates to create your forms in WordPress.
- Formidable Forms
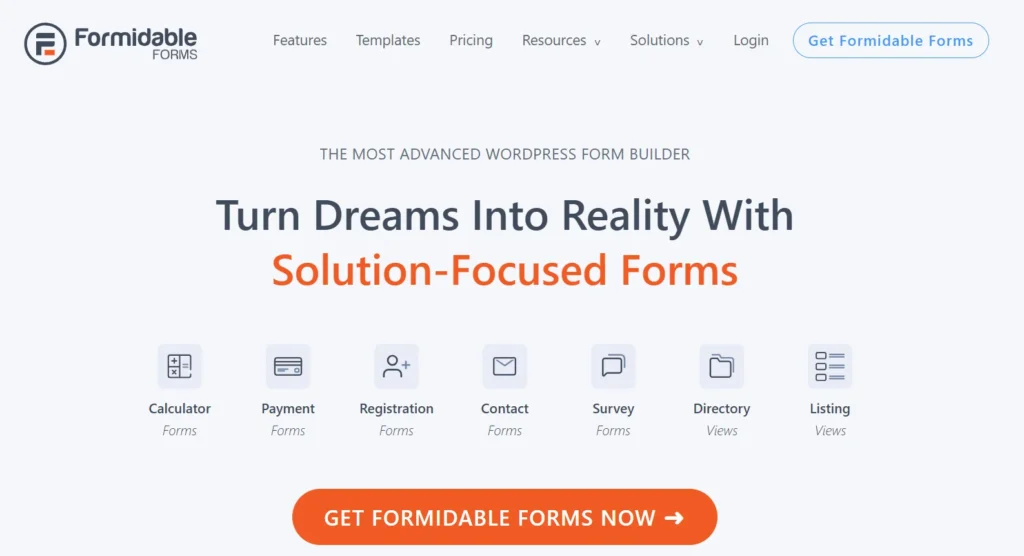
Formidable Forms is a freemium plugin, popular for its advanced features and integrations. The free version is fairly sufficient to create standard contact forms.
- Fluent Forms
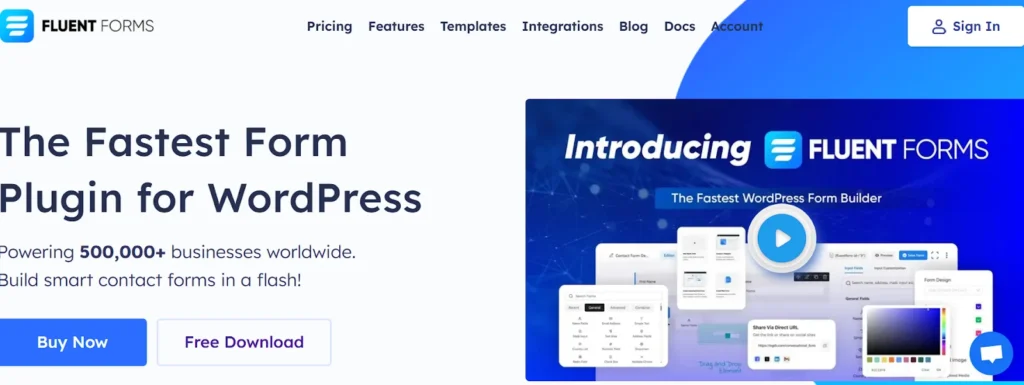
Fluent Forms powers form creation on 500,000+ websites, offering users more than 50 built-in input fields and a wide range of pre-designed templates to get started quickly. Its conditional logic feature makes it stand out as an excellent form builder.

WP Ultimate CSV Importer Pro
Get Ultimate CSV/XML Importer to import data on WordPress faster, quicker and safer.
- Jetpack
If you are a great fan of building with Gutenberg blocks, you can build contact forms by adding the form block to your editor. For that, start with installing the Jetpack plugin in your WordPress. After you activate the plugin, the “forms” block will be added to your block editor.
Step-by-Step WordPress Contact Form Setup
We have chosen WPForms for this walkthrough as it is a beginner-friendly form builder that is super easy to work with.
Step 1: Installation and Activation
Just like other plugins, WPForms needs to be installed and activated before you can start using it.
From your WordPress dashboard, head to Plugins > Add New to begin the setup. Type “WPForms” in the search field. You’ll see the plugin listed right at the top of the results. Click Install now to install it. After installing, click on Activate.
Step 2: Create a Contact Form
On your WordPress dashboard and locate WPForms > Add New. Name your form as you prefer (e.g., Contact Us).
Next, choose the Simple Contact Form template. You’ll see the drag-and-drop builder. You can now add multiple fields in WordPress forms (e.g., phone number, dropdowns, checkboxes) and reorder them easily.
Click on any field to edit its label, placeholder text, or make it required. You can also change field sizes and add tooltips. With these options, you can easily customize WordPress form fields based on your needs.
Once you are happy with how your form looks, click Save.
Step 3: Configuring your WordPress Form for Spam Protection
To protect your form and website from spam, you need to add a captcha. Adding a WordPress contact form captcha protects your inbox from spam and intrusive submissions.
You can add a captcha in WPForms by heading to Settings > Captcha. Choose between
- Google reCAPTCHA
- hCaptcha
- Built-in honeypot (no setup needed)
For reCAPTCHA/hCaptcha, you need to enter your site keys from Google or hCaptcha. Adding these will ensure strong WordPress contact form security.
Step 4: WordPress Email Notifications Setup
If you want to be notified instantly when someone fills out your contact form, you can enable email notifications in WPForms.
Go to Settings > Notifications. Check if the admin email is correct and customize the subject line, message content, and reply-to field. This will make sure you don’t miss out on any responders and are always in the loop.
Step 6: Set up Form Confirmation Message
A form confirmation provides instant feedback to users, letting them know their submission was successful. You can add a simple “Thank you” message or anything you like to express that you value your users’ participation.
By default, WPForms has a thank you message. But if you would like to customize it, you can go to Settings > Confirmations and choose the confirmation type as message/show page/go to URL(redirect). Enter your customized confirmation message in the field given.
Step 7: Showcase Your Contact Form on the Website
Once your custom contact form is ready, it’s time to make it visible on your site so visitors can reach out. There are two main methods you can use to embed the form on your website.
Method 1: Using the WPForms block
Navigate to the post or page where you’d like to insert the form. In the block editor, click the “+” button, search for WPForms, and pick the form you want to add.
Method 2: With WordPress Contact Form Shortcode
Go to WPForms > All Forms, copy the shortcode next to your contact form. For example: [wpforms id=”123″]
Paste it into any page or post.
Now, if you see the page or post on your website front view, your contact form will appear for your users to access.
WP Ultimate CSV Importer Pro
Get Ultimate CSV/XML Importer to import data on WordPress faster, quicker and safer.
Tips to Style and Optimize Your Form
Here are our WordPress form styling tips and optimization tricks to help your form look great and work smoothly:
- For a more professional look, match your form’s colours (button and text) to your site’s theme and add enough space between fields so users don’t feel cramped when typing.
- Use clear labels. Instead of using just “Name”, write “ Your Full Name”.
- If your form has many fields, grouping them with small headings like “Contact Info” or “Feedback” will make it look more organized and neat.
- Enable AJAX form submission. This lets users submit the form without reloading the page and ensures a smooth submission.
- Make sure your form is mobile-friendly.
Conclusion
Hope this blog helped you learn how to easily add a free WordPress contact form. Feel free to check out our other form-building plugin recommendations to figure out what works best for you.
There is so much you can do with WordPress forms, whether it’s collecting leads, handling support requests, or just staying in touch with your visitors. Don’t limit yourself to just contact forms; explore other form types to close any communication gaps between you and your visitors.
